 Ten years.
That’s how long I’ve had my prized KitchenAid stand mixer — about as long as I’ve owned my house. It’s as old as my two cats. It’s outlasted less reliable kitchen equipment … a few friends … and one or two love interests. But this constant owns a permanent corner of my small counter space, and my heart.
It’s just the basic model in boring white, and while there are better, more professional versions to be had in lots of trendy colors, for a girl with a sweet tooth and a love of baking, this one suits me just fine.
You can mix a lot of cookie dough, cake batters, frosting and other gooey substances in the course of a decade. About a year into our relationship (yes, still talking about my mixer), I decided to spice things up a bit. I bought a couple of … accessories. One is the ice cream bowl, the other, the food grinder.
Long story short, neither have been used much since then. The ice cream bowl begged to be kept in the freezer, ready to be used at a moment’s notice, but took up too much space. So down to the basement it went. In fact, both pieces have been living in their original boxes — inside other boxes — in the basement. Out of site, out of mind.
Like many people, I’m sure, I find it hard to part with kitchen gadgetry. I don’t think I’m at hoarder status — we’re only talking about two accessories! But still, their presence haunts me. So the spring cleaning challenge sounded like a good opportunity to get some new and exciting uses out of this stuff … and decide whether or not to get rid of them.
The last, and perhaps only, time I used my food grinder was to grind up leftover holiday ham to make sandwich spread. If you don’t know what that is, you may be better off not finding out. For me, it’s one of those yummy, but kind of sickening childhood memories. It came in a tube. You squirted it out onto white bread. Then you ate it and felt like a fat kid. But you were so happy! Making it from scratch was at least a little better than buying that tube.
The point is, I always associated the grinder with grinding meat — hamburgers, sausages and spreads. But it can be used to grind many things, including vegetables, legumes, bread and cheese. I started researching recipes for something I’d never tried before … something that most people might not think to use a grinder for …
 Falafel.
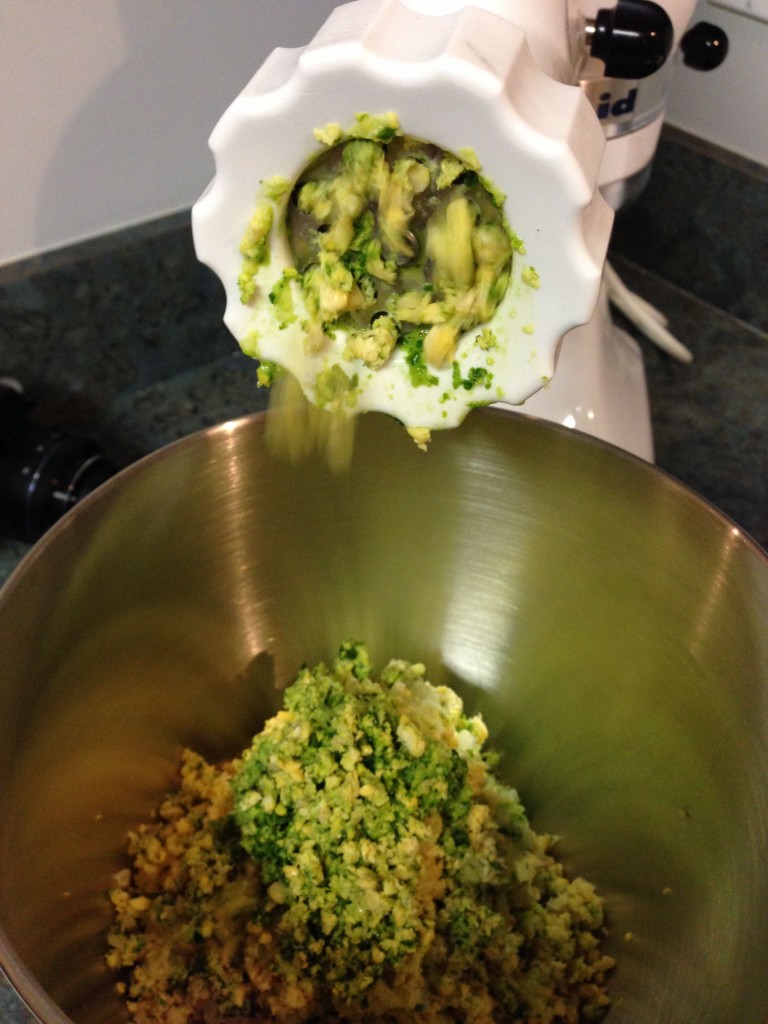
I knew the chickpeas had to be ground up. Typically this is done in a food processor or Vitamix with the other ingredients, so I figured I could just change up the steps. I pulled out the grind-able items — the chickpeas, onion and garlic — and pushed those through to get that mealy, fine, dry texture of falafel “batter.” Then I added the rest and stirred it all up.
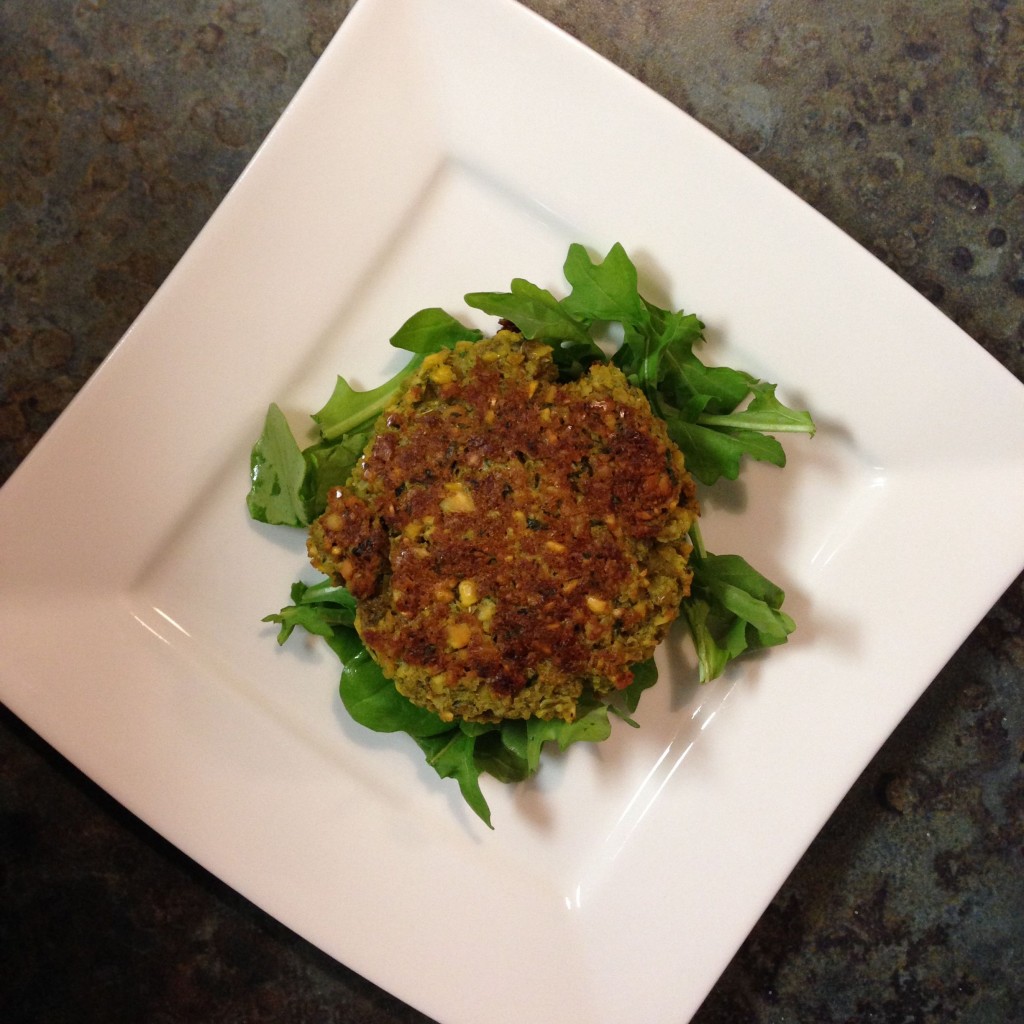
In the end, I decided not to part with this attachment. Unless the stand mixer breaks (which would also break my heart), I’ll simply keep it tucked away … but maybe not too far out of reach. The falafel was so easy to prepare, gluten-free for the hubs, and made enough to have dinner and lunches for both of us.
It also inspired me to seek out other uses for the attachment– even going back to try more traditional things, like making my own ground hamburger mix or sausages or even tartar.
So, if I’m going to make space in my kitchen cabinets, looks like I’ll have to dig deeper. And don’t even suggest the ice cream maker — later this month, we’ve got one Eater cooking up something awesome to repurpose that!
Baked Falafel
For inspiration, I drew on Mark Bittman’s baked falafel recipe. It called for putting all the ingredients into a food processor to chop and blend. Since we’re using a grinder here, I broke that out into two steps – grinding the chickpeas, onion, garlic and parsley, then mixing in the spices and lemon juice.
Falafel:
1 3/4 cups dried chickpeas
2 garlic cloves
1 small onion, quartered
1 tablespoon cumin
Pinch of cayenne, or to taste
1 cup chopped fresh parsley
1 1/2 teaspoons salt, plus more to taste
1/2 teaspoon black pepper, plus more to taste
1/2 teaspoon baking sodaTahini Sauce:
1 tablespoon fresh lemon juice
4 tablespoons olive oil
1/2 cup tahiniCover the chickpeas in a large bowl with water by 3 to 4 inches. Soak for 12 to 24 hours, checking as they soak to ensure they are submerged and have enough water. They should triple in size and break apart with your fingers when they are ready.
Heat the oven to 375 degrees. Drain the chickpeas and add to a bowl with the garlic and onion. Set up the stand mixer with the food grinder attachment and turn on. Place a large empty bowl under the opening of the grinder to catch the ground chickpea mixture. Turn the mixer to level 4 and begin adding the chickpeas, onion and garlic into the grinder funnel. Use the plunger tool to push the chickpeas down into the grinder, forcing the grind.
Once all is ground, add the cumin, cayenne, herb, I teaspoon of salt, pepper, baking soda and lemon juice. Stir together till well mixed. Taste and adjust the seasoning, adding more salt, pepper or cayenne as needed.
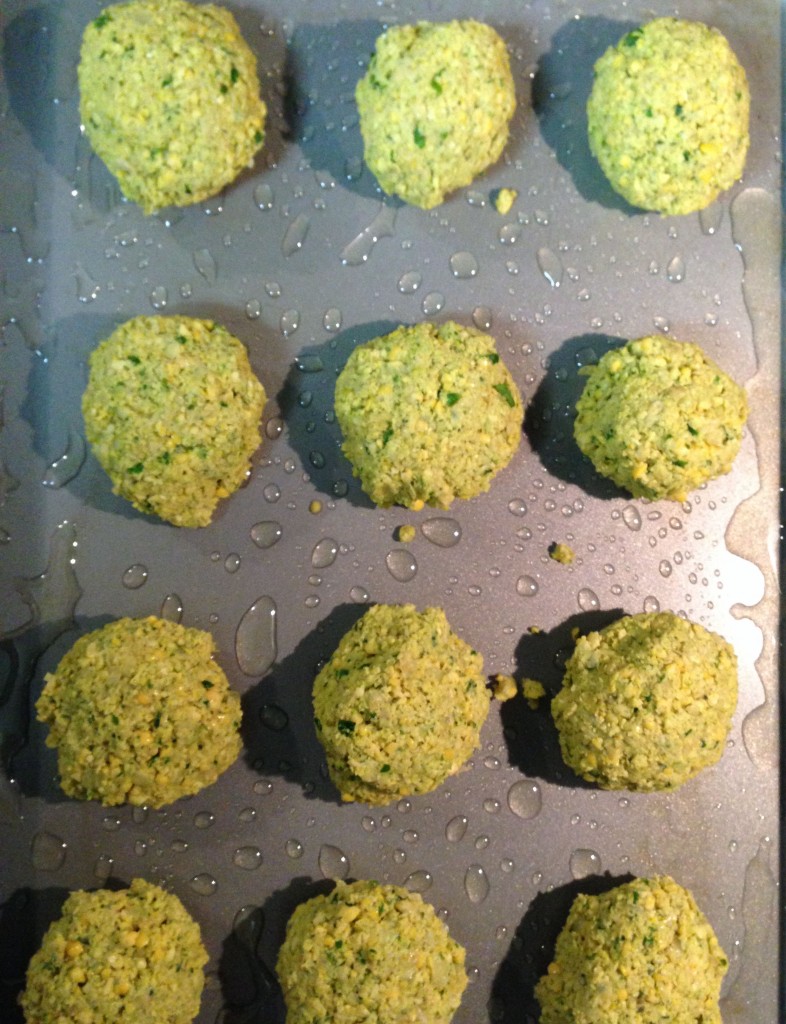
Spread 2 tablespoons olive oil onto a large rimmed baking sheet. Roll the chickpea mixture into large balls, roughly 1 1/2 inches each. Should make 18 to 20 balls. Place the falafel balls onto the pan and brush the tops with the remaining tablespoons oil. Bake until golden brown, about 10 to 15 minutes on each side.
Whisk the tahini and remaining salt with 1/2 cup water in a small bowl until smooth. Drizzle the tahini over the falafel and serve.


Can I used canned chickpeas?
I don’t see why not! It would be a good shortcut when you don’t have dried chickpeas on hand or want the falafels right now. I would check to see if salt was added to the canned ones and cut back on the salt in the recipe accordingly.
Looks delicious.
I got the kitchen aid then stopped eating meat, now I need to find what to do with my grinder and this looks like a great first meal.