 When you think of jam or jelly, a ton of different things are going on in your mind, no doubt. Neurons from different parts of your brain are conjuring images, tastes, smells, textures — even emotions and memories — associated with what you understand historically as “jelly.”
If you’re a fan of these sugary spreads, perhaps an image of your favorite comes to mind. It may have a label from a manufacturer or it maybe it’s a friend’s homemade creation. Perhaps it’s Sheri’s wonderful peach jelly that your children brought home to share, Nana’s strawberry freezer jam or even that giant plastic tub of Smucker’s concord grape that you purchased at Costco for lunches.
And if you make your own, you might be imagining Ball jars, canning lids, gardens or even a day picking your own fruit at a local farm or orchard.
Now, when you see the words, “hot pepper jelly,” what happens?
____Flatline____ Maybe, at most, you get a confused look on your face. Hopefully, this little post will change that.
I first encountered hot pepper jelly as a child with my grandparents. Nana had left my grandfather and I to our own devices for the day while she went to one of her many card clubs. When she came home, she excitedly produced a small jar of the stuff and explained what it was. Our initial reaction was (perhaps like yours) one of confusion and trepidation. How could this stuff possibly be good?
As usual, we finally gave into Nana’s nagging. She scooped some onto a bit of cream cheese and a Ritz cracker and we tried it. That single moment has helped to shape how I look at food, food prep and pairing, even gardening. The stuff was really good — the perfect blend of opposites.
 For all its complex flavor, pepper jelly is actually quite easy to make. Each year, I plan a different “edition” or “vintage.” Sometimes I use one type of pepper, other years up to six. For the last couple of years I’ve found that adding complementary fruits to the mix makes a huge impact on the complexity. This year, for example, I didn’t add any bell peppers at all, but relied on mangoes, pineapples and apricots for some of the flavors.
As for the flavor, it really has to be experienced to be understood completely. The gist of hot pepper jelly is that it’s similar to a sweet and sour sauce, but if you left it at that you’d really be doing the stuff a disservice. The basic recipe calls for sugar and vinegar in addition to the peppers. All of the flavors — hot, sweet, tangy, acidic — blend well with each other and no one flavor emerges overpowering.
I keep a “master recipe” handy for each edition of my pepper jelly. There are some things I change and some that I (and you) don’t and shouldn’t mess with. Always keep the vinegar and sugar amounts the same, for example. But I have found that the pectin amounts can be changed depending on a few variables. This year, for instance, I used liquid pectin instead of the powder form. With that, the “jelly” turned out more like a sauce. If I had to do it over again, I would have added a third pouch of liquid pectin to thicken the recipe even more. It doesn’t affect the taste, but changes the consistency.
Given the saucy nature of this edition, I poured some of the “jelly” on a batch of smoked, pulled pork that our friend Justin sent home with us. We used it in lieu of BBQ sauce and it was amazing; sweet, zippy, tangy, hints of spice and fruit – perfect for a nice smoked meat dish.
 The base recipe calls for 4 cups of peppers, but this is the fun part that you should experiment with. I cut the amount of peppers down to 3 cups and use 1 cup of fruit puree in place of the 4th cup of peppers.
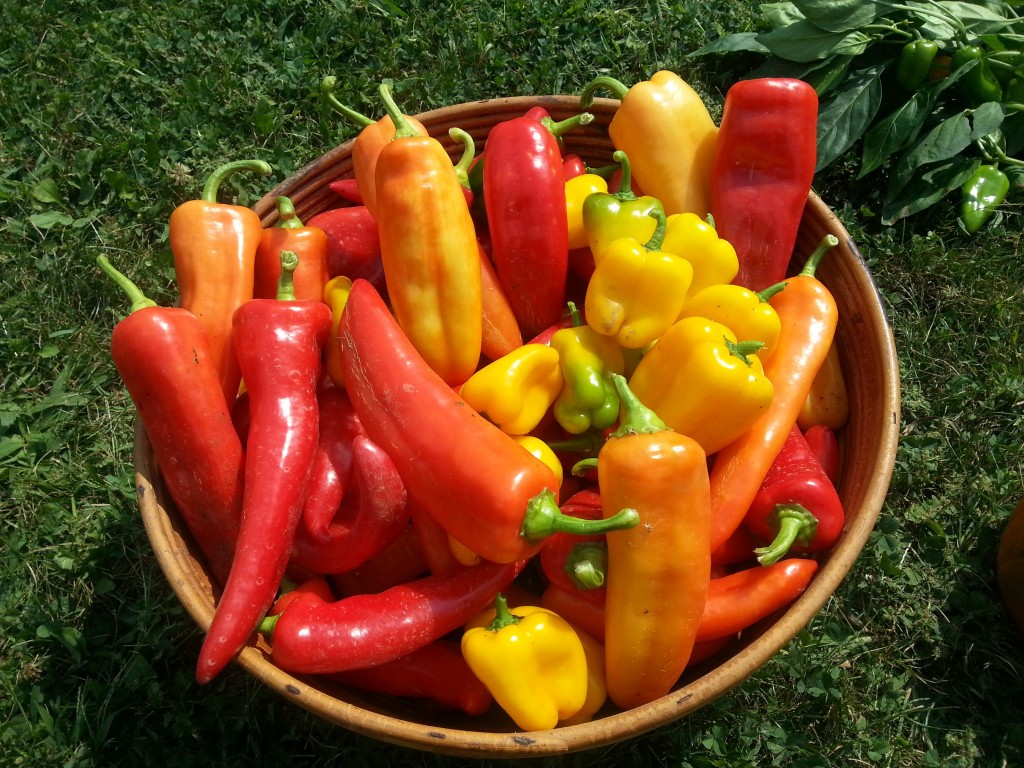
This year I didn’t use any sweet peppers at all. Instead, I used habanero, jalapeno, Serrano, ari limo, and Hungarian hot banana in the pepper mix. And because I wanted a somewhat spicier edition this time around, I left the white membranes in the Jalapenos when I seeded them. The heat from peppers is caused by a chemical called capsaicin that, while found throughout the entire pepper, is concentrated in the inner white membranes holding the seeds. Leave them in if you want more of a kick, take them out if you don’t.
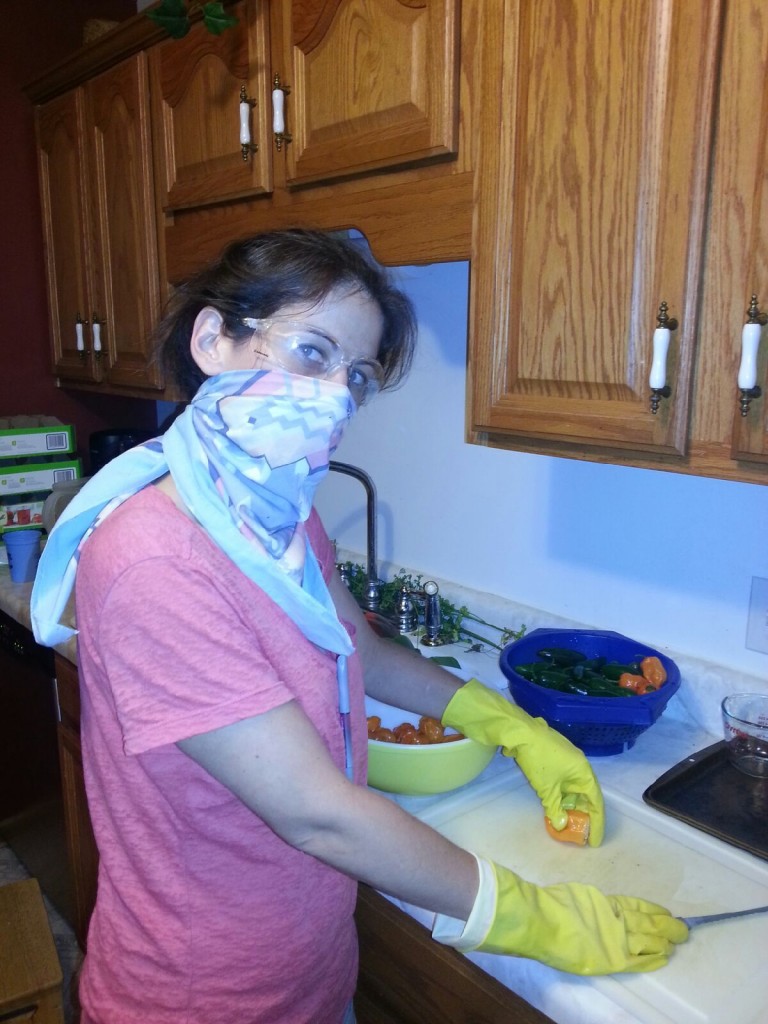
I should warn you: Working with hot peppers can be painful. The capsaicin doesn’t just burn your mouth; any area of your body that comes in contact with strong doses of capsaicin will be affected. Not only will it burn your face and eyes if you inadvertently wipe your face, but even washing dishes in hot water will be extremely painful. As a result, gloves should be worn when chopping large quantities of hot peppers; I always wear them if I’m cutting more than a few banana peppers or a small amount of jalapenos.
Also, if you’re going to be working with peppers hotter than jalapenos (Scotch bonnets, habaneros, Thai chilies, etc.), you may want to wear protective eyewear. Yeah, I thought it was goofy too — until an errant habanero seed landed in my eye. My husband laughs each time I make the jelly because he thinks I look like a cross between Dexter and a certain Breaking Bad character. Use your own judgment.
Some Tips For Canning:
 A few tips to make the canning process a bit easier: Always clean and organize your workspace prior to starting. There is nothing worse than getting ready to put your product into jars only to realize that you’ve forgotten something vital like a pair of tongs to grab the lids out of boiling water. Try to visualize the process itself especially if you are new to canning. Where are you going to be getting the hot jars from, lids, rings? Where will you be putting your finished product?
I always clean and sanitize after my prep work then lay out the tools needed in the places that they will be utilized. Think of your workstation as an assembly line. Also, don’t be afraid to ask for help. Every year my husband knows he will be putting rings and lids on the finished product and placing the jars in a safe, out of the way spot on the counter to wait for them to “pop” to tell us that there is a seal on the jar and our canning process is effective. The jars will seal with a popping sound anywhere from 10 minutes to an hour after canning. If by chance a jar doesn’t “pop,” it is because there isn’t an adequate seal. Always check your jars to make sure they’ve sealed – you shouldn’t be able to press the lid in at all. Now you’re all ready to enjoy your finished product.
Greta’s Pepper Jelly Base Recipe
Note, this recipe makes 6-8 pints of jelly, depending on how full you fill the jars and how small you chop the peppers.
3 cups finely chopped and seeded peppers
1 cup pureed or chopped fruit
1 cup apple cider vinegar
2 packages (powder) pectin OR 3 packages liquid pectin (for a jelly consistency)
5 cups sugar
1 pair of metal tongsIn a large pot, combine the peppers and fruit over high heat. Add the apple cider vinegar and pectin. Bring to a rolling boil. Skim white foam from top that may appear. Maintain rolling boil for at least one minute.
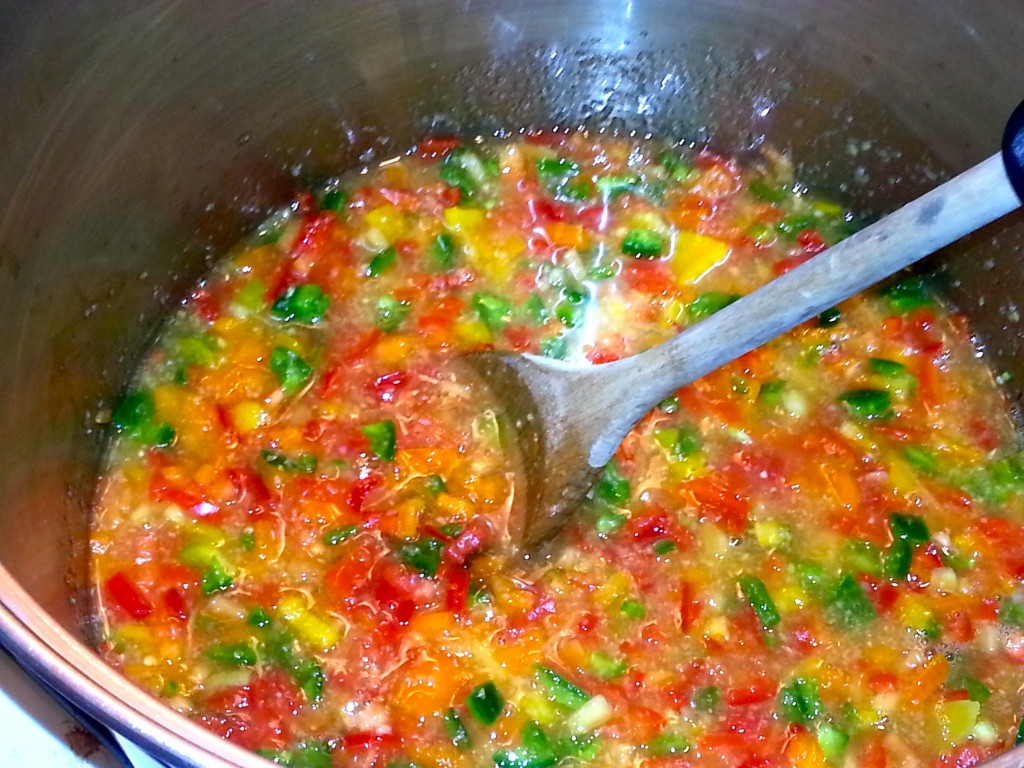
Slowly mix in sugar, stirring constantly to avoid clumps. Bring entire mixture back to rolling boil. Boil for 5 minutes and turn off heat. The mixture should have a saucy consistency and most of the diced peppers will be floating near the top.
Stir and ladle the contents into hot and clean canning jars making sure to wipe any excess from the rim of the glass with a clean towel.
The easiest way to eat hot pepper jelly is by simply pouring some over a block of cream cheese and topping a nice buttery, crispy cracker with it. It’s also a really great accompaniment to grilled fish or chicken.


