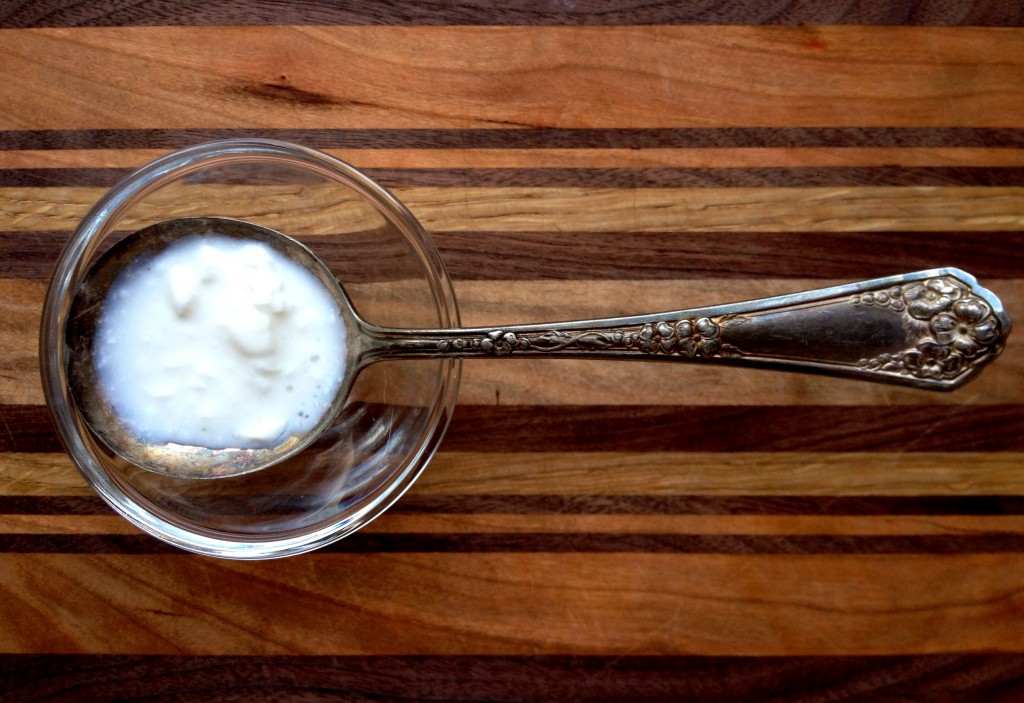
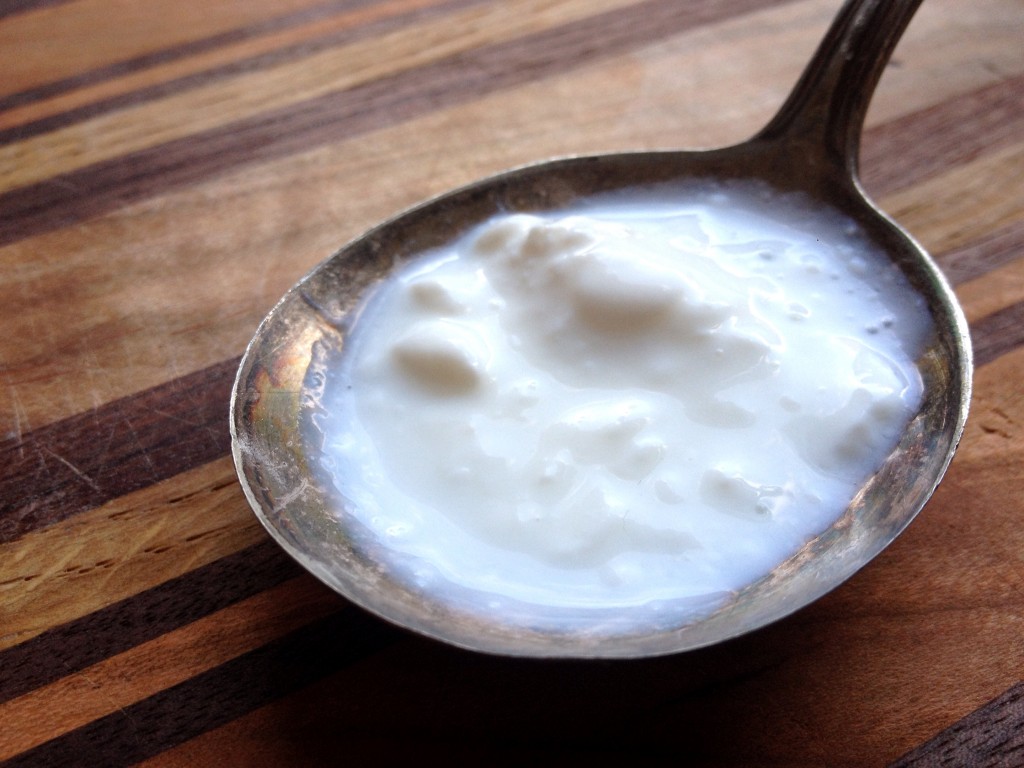
 One of my favorite breakfasts is a heaping portion of full fat Greek yogurt (it may seem counter intuitive, but research suggests that whole-fat dairy keeps you leaner) with tart unsweetened cranberries, sliced raw almonds, a generous spoonful of ground flax seed and an equally generous spoonful of honey. It makes me feel full, and it’s a great way to get a healthy dose of probiotics to start my day. According to WebMD, yogurt has been shown to help gastrointestinal conditions, including constipation, diarrhea, inflammatory bowel disease — and even colon cancer. But …
I hate that there’s always a but! This one is pretty straightforward though: Greek yogurt can be pricey. My solution to this kind of problem is usually D.I.Y.!
I am a “do it yourself” kind of girl, as anyone who knows me well will attest. I made my own wedding invitations. I knit my own scarves and make jewelry. I designed my own wine glass holders out of recycled vintage wood boxes and a hack using IKEA’s pot lid organizer, Variera. And that’s just the crafty stuff. Even as a little kid, I was sprouting beans under my bed. This did NOT make my mother happy, but planted a different kind of seed in me: a passion for culinary experimentation. Earlier this year, I started making my own butter. I’m learning about making cheese, and as you may have read, have recently tackled kimchi, another probiotic food.
So why not yogurt? I mean, I have a dehydrator, which is probably the easiest way to make it go.
I’ll tell you why: It takes seven to 15 hours to make yogurt. Sure, it takes even longer to get that good bacteria thriving in kimchi … but the ingredients in that fermented cabbage superfood can be a very personal thing. Making it myself allows me to put what I want in it — like daikon or kale. You can’t always buy it off the shelf that way. Yogurt is pretty much yogurt, and though a D.I.Y. version ensures an affordable, quality product … splurging when I’m crazy busy (like now, and pretty much always) just makes sense.
I still don’t like that answer, but what’s a girl to do?
As it turns out, my friend Mara had just the thing: Kefir. Similar to kombucha (which we’ll learn about next week), kefir requires a SCOBY, a symbiotic culture of bacteria and yeast, which are commonly referred to as “kefir grains.” You can get them from a friend who makes the stuff (thanks, Mara!), online or in some health food stores. The instructions she gave were ridiculously easy: You take a spoonful of kefir grains, add milk and let it sit for 24 hours.
That’s it.
I’m not even kidding.
And while yogurt contains beneficial bacteria, kefir ups the ante with Lactobacilluis Caucasus, Acetobacter species and, well, I’m stopping there because I can’t pronounce — let alone spell — half of the awesome bacteria found in the stuff. Some sources say that you get acidopholous with yogurt, but up to 25 different kinds of probiotics with kefir. And if you’re lactose intolerant, there’s good news: The healthy bacteria and beneficial yeast eat up most of the milk sugars while the kefir cultures. You can also make it with water!
The consistency is a bit different than my Greek yogurt breakfast — more drinkable than spoonable — but it still has that tangy taste. I switch it up a bit and pour some on top of some granola (homemade, of course!).
Quick & Easy Kefir
1/4 cup kefir grains
4 cups milk
1 quart glass ball jar or other glass containerAdd kefir grains to clean glass jar. Add milk. Unlike yogurt, it’s okay to use cold milk.
Close lid tightly and shake, Loosen lid to allow any gasses to escape during fermentation process, or use a clean cloth secured with twine (a paper towel with a rubber band works well, too!). Allow to sit at room temperature for 12 to 48 hours. After 12 hours, check to see if it has thickened. If not, allow to sit longer, checking every 12 hours. The warmer your climate, the sooner this will be done — so keep and eye on it. Mara says 12 works best for her, and that it gets too sour if it sits longer (plus, the curds and whey begin to separate, and that just makes me think of spiders for some reason. I hate spiders.)
Mara says she doesn’t strain hers, she just drinks it as-is — grains and all. Her reasoning is that saving all those grains means having so many you can’t even give them all away on Craigslist. That said, I have an acute issue with consistency violations, so I’m a fan of this next step.
Place a fine strainer or cheese cloth over a new clean
container and pour kefir in (or use a funnel with a strainer … one of my fave kitchen gadgets!). You can coax it through by shaking, or just let it sit for a while. When all the kefir has moved to the jar, return the grains to the unwashed jar and add more milk. This will kickstart the process on your next batch.
Now … eat it. Drink it. Add it to smoothies, or any one of the other endless ways to ingest this healthy stuff! And if you don’t want to make another batch right away, you can cover them in milk and store them in the fridge. They nosh on the milk, and will eventually die once their food source is gobbled up. You can also freeze the grains.
Check out THIS great troubleshooting guide for everything kefir.


