 Lately I’ve been feeling overwhelmed by my gift-giving list, particularly when it comes to getting said gifts to give. I much prefer to make things for those I love and we’ve decided this year to focus more on the reason for the season and less on the stuff that ends up getting returned, re-gifted or redirected to our local Goodwill.
Who doesn’t love something homemade and delicious. Really… when was the last time you turned down a sweet or savory shortbread? Chocolate truffles? Infused booze? You better have said never, particularly if you are on my Christmas List. (You’ll get recategorized to the naughty side and wind up with a fruitcake doorstopper.)
If the requests that come in this time of year are any indication, just about everyone LOVES a yummy food-centric holiday package. This year, mine also incorporating two of my gifting passions: do-good gifts that support different mission projects, and just about anything that supports local business. Hopefully none of my gal pals will read this until December 26th, but if they do, they’ll discover two such things headed their family’s way!
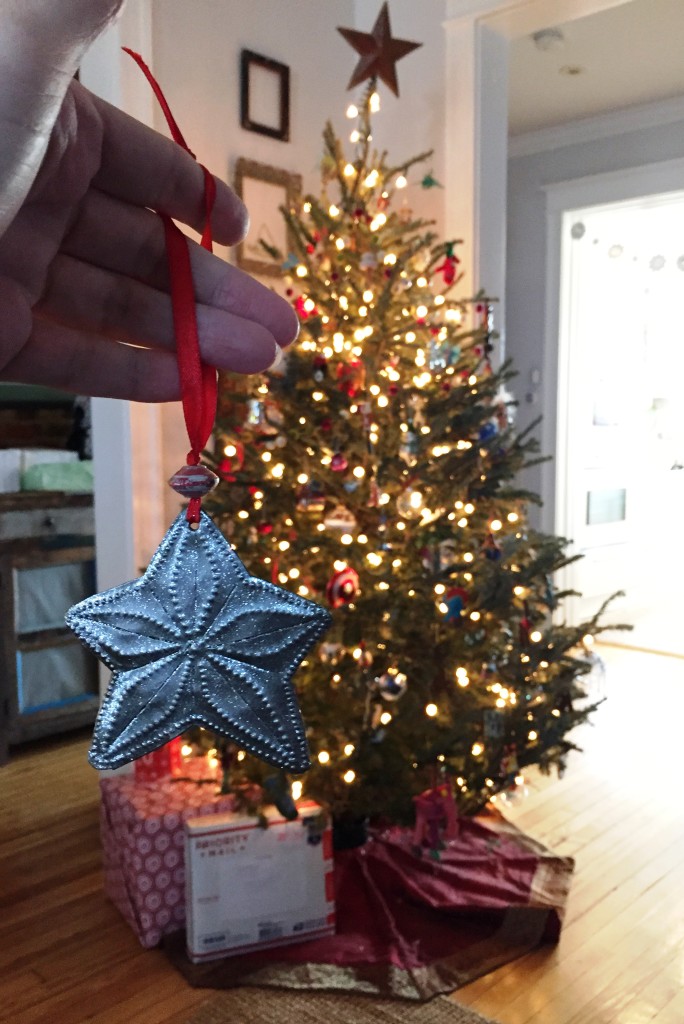
First, in keeping with my families holiday tradition to gift a Christmas tree ornament every year, I picked up these darling little recycled oil drum ornaments that benefit the Apparent Project and A1:8’s mission team headed to Haiti in June 2017 at a craft fair recently. The Apparent Project was started by an adoptive family who sought a child in Haiti, but found a mission instead to support Haitian parents caring for their kids. Their goal is to empower parents there rather than have them forced to make a heartbreaking decision to give them up due to lack of resources to provide for them properly. It’s kind of an awesome organization.
Second — and definitely on the “most coveted” list within my circle — is homemade granola. This is the single most often ordered item by the clients of my personal cheffing business. This year, I’m making it with honey sourced as local as it gets… from my home state, and from someone I went to school with.
 Bee Smitten Honey Company is family owned and operated in every sense of the term. The beekeeper, Chris, is an outdoorsman that has always been passionate about using the land and protecting nature. He became a bee keeper four years ago, starting with just one hive and grown his hobby to include more than 10 now. I attended middle and high school with Chris’ wife, Angie, who has been busy-as-a-bee herself creating their brand, from designing the label and packaging, to promoting the new business on social media.
Chris visits the bees often to make sure the hive is growing at an expected pace and assures they have enough room to grow by adding additional wooden boxes called “supers.”
“The bees are amazing engineers,” Angie says. “[They] build their honeycomb out of beeswax then fill the honeycomb cells with honey. When there’s a surplus of honey — more than the bees will need for food and energy over the winter — then it’s time to harvest.”
That’s when their girls, Gianna and Vivienne, pitch in.  They help dad extract the honey, then help mom label and package it.
I mean, who wouldn’t want to buy honey from this darling little bee?
The family has learned a lot about the sticky, sweet stuff over the last few years. Chris says that one of the most interesting things he’s learned about honey bees is they communicate with one another by dancing.
“Angie and the girls love this fact. They also can travel several miles to a particular pollen source and somehow navigate back to the hive without getting lost…without a GPS,” Chris said.
This fall, Founding Foodie Sarah and I found ourselves at an apple orchard in Virginia learning the difference between different varietals of honey. We both took home some buckwheat honey, which had a deep, robust — almost earthy — flavor. Honey flavor profiles were something I had to ask Angie her expert opinion on.
“Honey is similar to wine in that they both take on the flavors of their local surroundings,” she explained. “Honey will have different flavors and colors based on the time of year and pollen source. Earlier in the Spring one of the first things to bloom is clover, that gives the honey a grassy floral flavor and is a lighter colored honey. In Fall, our main pollen source is golden rod. The honey is much darker and full bodied flavor.”
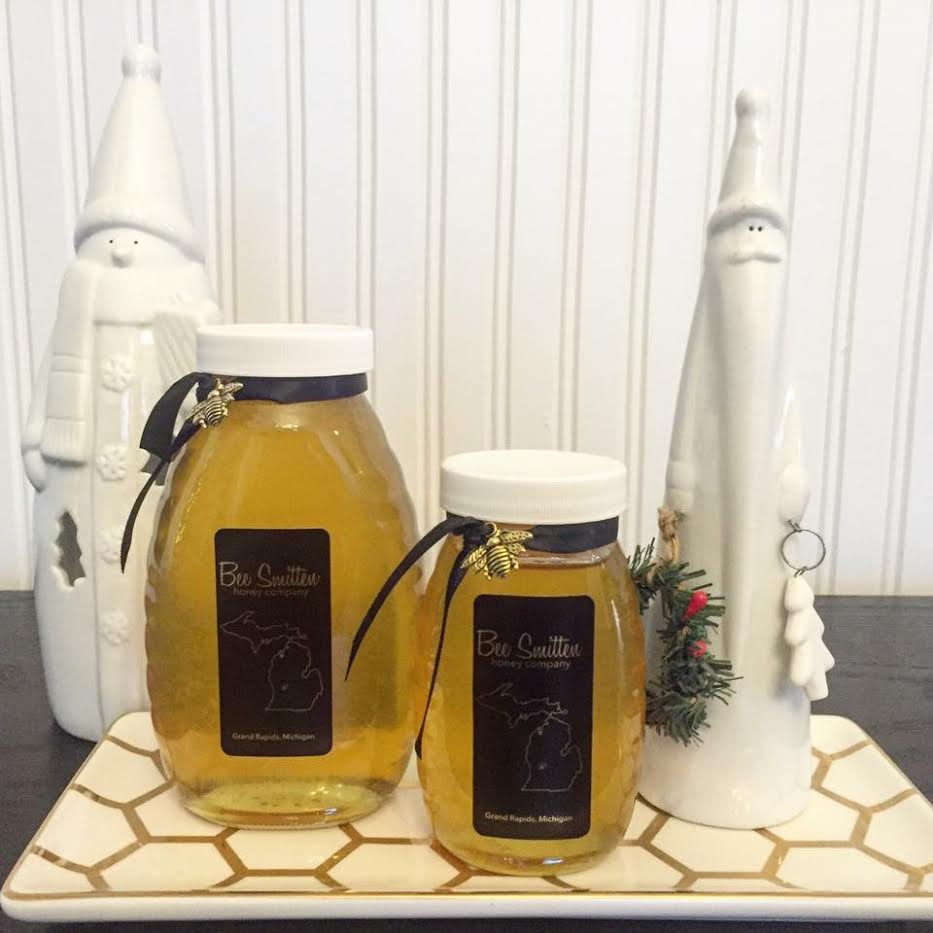 Next year, the family plans to expand into other products created with love by their buzzing friends, including bees wax candles and lip balm. And although they mostly use their amber gold in tea, smoothies and on toast, Angie says they love hearing about when friends use Bee Smitten Honey to make energy balls, granola and even cocktails.
Yeah, granola. So back to that…
Here’s the thing: I don’t really have a recipe. I have advice. Granola is one of those things that is really very forgiving. You can simply use oats… or add nuts and seeds and whatever else you have on hand… or forget the oats all together, Paleo granola recipe calls for. The most important thing is the wet mix. I use a mixture of equal parts oil, maple syrup and honey. I also tend to add brown sugar and sometimes a nut butter, if I am in the mood. The trick for somewhat clumping granola is to get the sugars good and hot — almost like you are making candy — and make sure the dry mixture is fully coated but not sopping wet.
Since I realize not everyone is a mad scientist like me, I am including a recipe here, but please — play with your food. Practice makes perfect. It’s the slow-cooking that really makes it work. I start it at 265 degrees and let it go undisturbed for 30 minutes. Stir, than let is go another 20 before adding your fruit. Putting the fruit in all at once makes it too hard to chew.
Would love to hear your favorite granola concoctions and tips below. Please feel free to share a favorite recipe in the comments section!
Amy’s Maple Pumpkin Granola
This recipe is inspired by the Minimalist Baker’s for 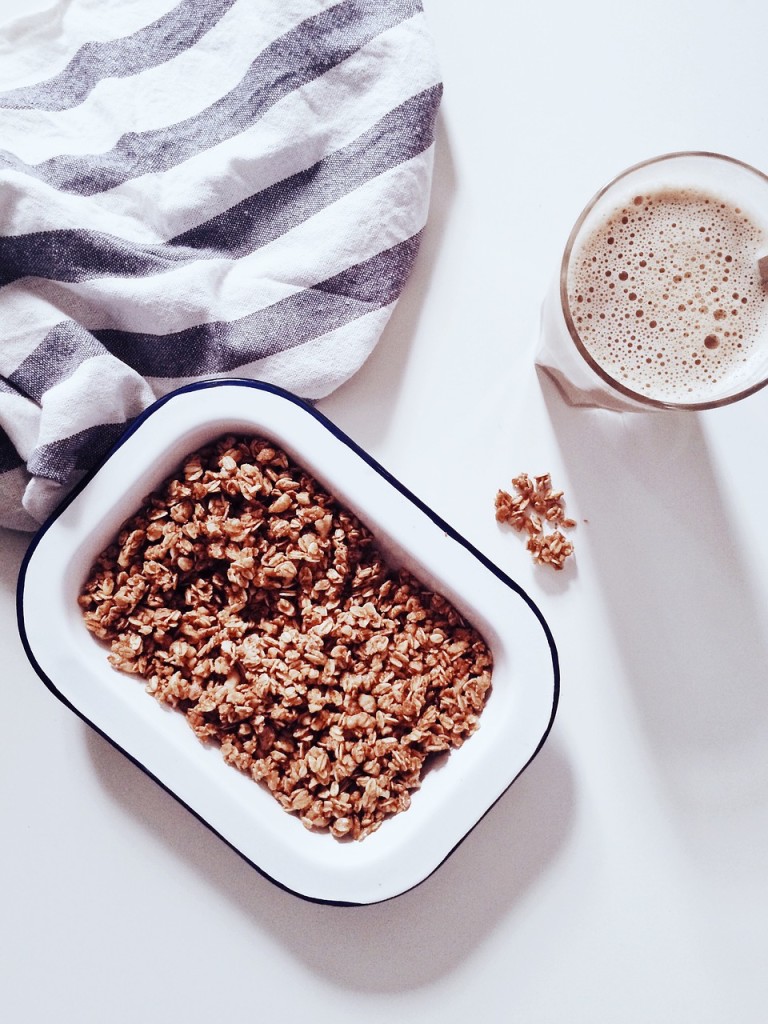 Pumpkin Maple Pecan Granola.
INGREDIENTS
3 cups gluten free rolled oats (not instant oats!)*
1 1/2 cups raw pecans
1/2 cup raw pepitas (pumpkin seeds)
1/4 cup flax seeds (helps keep things, um… moving)
¼ tsp of coarse sea salt
1 tsp pumpkin pie spice*
1/2 cup coconut or other light-flavored oil
1/2 cup honey
1/2 cup maple syrup
1/2 cup pumpkin puree*
1/2 cup brown sugar
1/2 to 1 cup dried cranberries
*(I use gluten free oats just in case someone in the household I am preparing this for has an allergy. Makes life easier on everyone not to have to worry when it is so easy to just pick up my favorite brand of Bob’s Red Mill instead!) If you prefer to make another flavor, omit the pumpkin pie spice and swap the pumpkin puree for a nut butter.
METHOD
Preheat oven to 265 degrees.
Add first six dry ingredients into a large bowl, mix and set aside. Put desired amount of cranberries in a heat-proof container and set aside. I like a lot of cranberries, but you can use less or substitute another dried fruit, if desired.
In a medium sauce pan, heat oil, honey, maple syrup, pumpkin puree and brown sugar until boiling up. It will look thicker and as if it has doubled. Remove from heat and stir.
Stir about 1/4 to 1/2 cup of the hot liquid into the cranberries and set aside again. Pour remaining over the dry mixture and stir to coat evenly. Add more oats (or nuts/seeds) if it looks too wet.
Spread even and no more than a generous half inch thick on a baking sheet. You may need two sheets. Place in oven and allow to cook undisturbed for 30 minutes.
Remove and stir carefully with a spatula. Return to oven, rotating pans to a different rack if you are using two, and allow to cook for 20 minutes. Remove, distribute cranberries in liquid evenly, and stir again. Return to oven for an additional 20 minutes, or until golden brown. It will be darker on the edges.
If you prefer it more clumpy or it looks dry, you can drizzle with honey each time you put it back in the oven.
Place hot pans in a safe place, stir and allow to cool completely on the trays. It will begin to stick together more as it cools, so keep stirring if you like it looser, or just turn gently in clumps if you want it to stick together.
Enjoy!
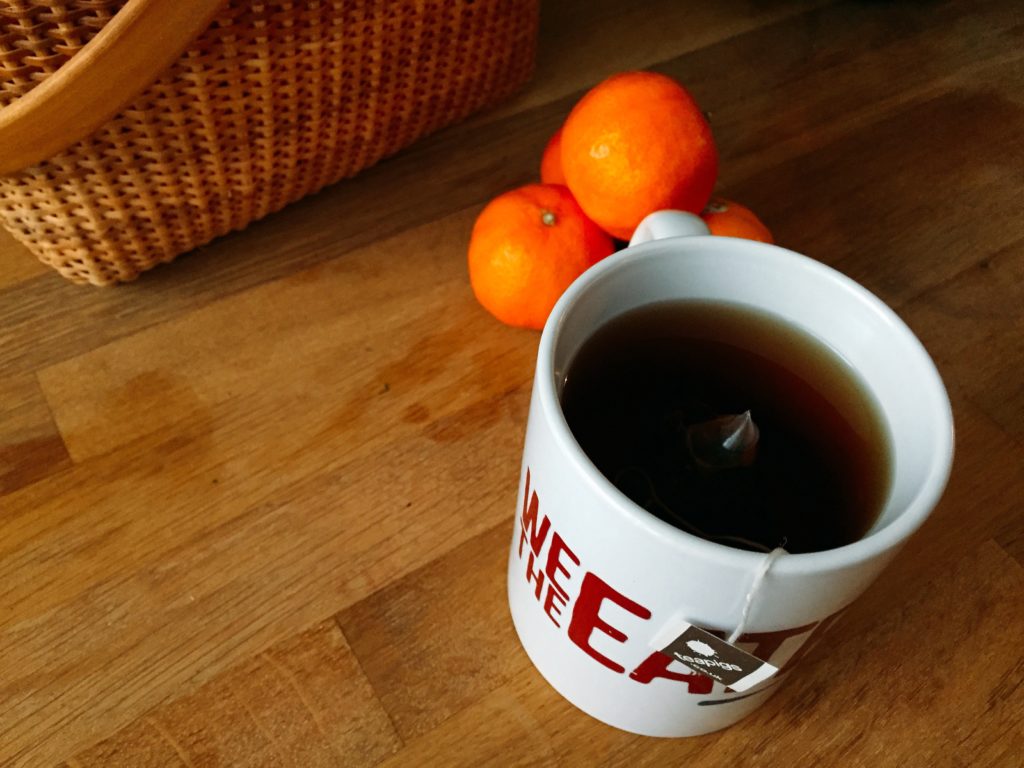 Rather than starting the new year off with cutting something out of our diets we’re adding something into it: tea. But we’re not simply steeping and sipping it, although that is lovely. Especially with a bite of Scottish shortbread. We’re cooking with it!
1 cup orange marmalade

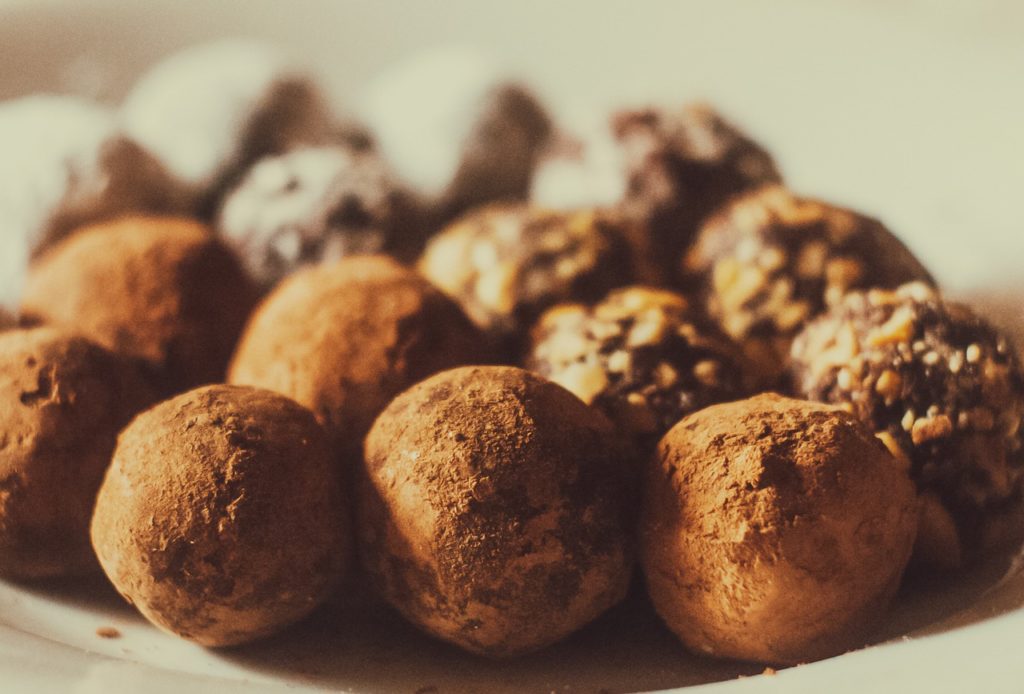 u slowly peel the ribbon away, opening that little box or bag to reveal the spheres of surprise within. You don’t always know what you’re
 Lately I’ve been feeling overwhelmed by my gift-giving list, particularly when it comes to getting said gifts to give. I much prefer to make things for those I love and we’ve decided this year to focus more on the reason for the season and less on the stuff that ends up getting returned, re-gifted or redirected to our local Goodwill.
 Bee Smitten Honey Company
 They help dad extract the honey, then help mom label and package it.
 Next year, the family plans to expand into other products created with love by their buzzing friends, including bees wax candles and lip balm. And although they mostly use their amber gold in tea, smoothies and on toast, Angie says they love hearing about when friends use Bee Smitten Honey to make energy balls, granola and even cocktails.
