 Virtually every day on the calendar has a food associated with it. Or, more likely, every food has it’s own national day. You’ll see them pop up on your news feed, or a picture shared out by a friend to alert everyone they are partaking in national donut, slushy, ice cream or hamburger day. Usually, I have no clue until the day is done and I’m perusing my Facebook or Twitter feed as I settle into bed (yes, yes, screen time right before bed is no good.)
Well, this month we’ve decided to check out what these days are all about, giving these special foods their own special time … in our kitchens and, subsequently, in our bellies. First of all, why do they exist and where do they come from? Bon Appétit has a great article on that very question, so I’ll just give you the gist. Basically, almost anyone can create a food holiday. From the president to state level government, even you yourself can create a food holiday. Mostly it boils down to really good PR by some food association or company.
So, welcome to the first Monday in September, which happens to be National Cheese Pizza Day! Today also happens to be Labor Day. Not sure if cheese pizza on Labor Day makes sense…but why not kill two holidays with one stone?
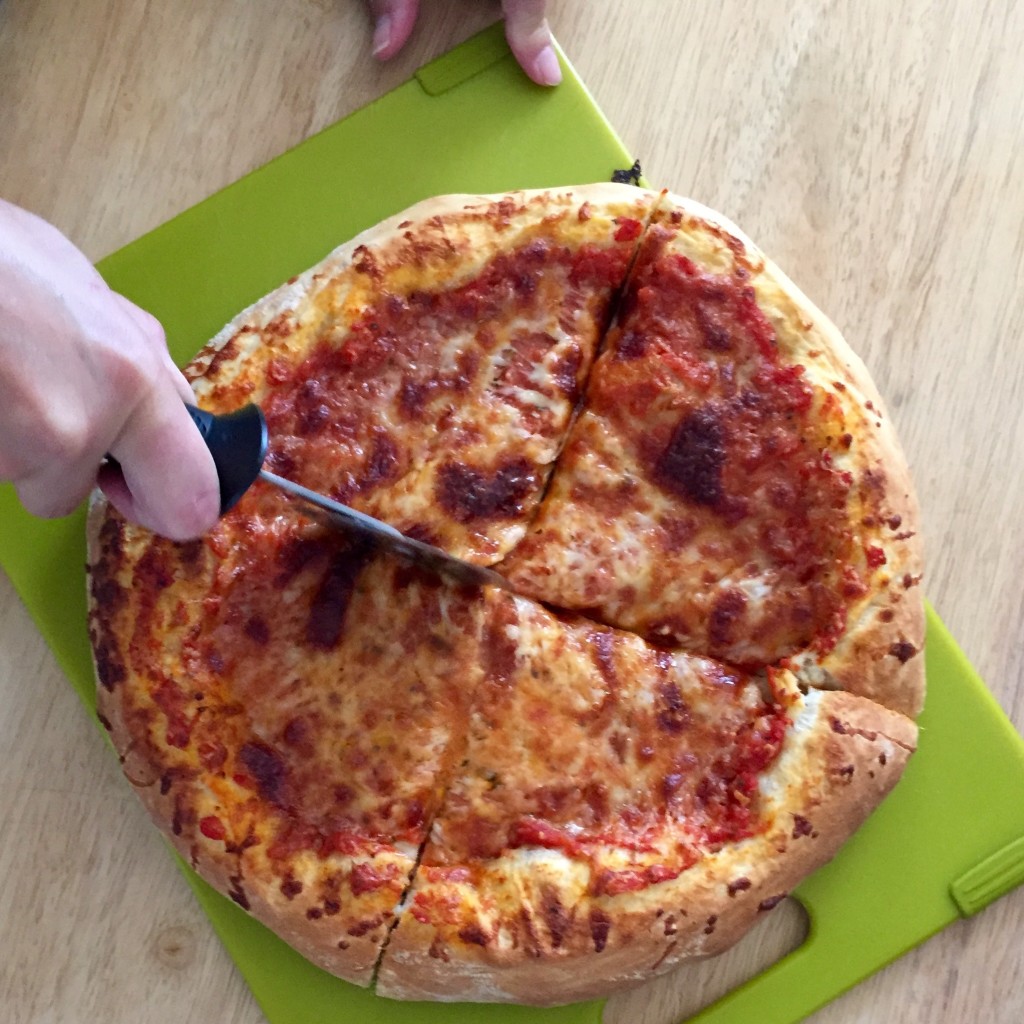 Cheese pizza seems to be one of the most popular pizzas around, with both kids and adults alike. When done with the right cheese, the right crust, you really can’t go wrong. To some, like Founding Foodie Amy, it may sound a bit pedestrian: “You know what this pizza could use? More sausage!” Have no fear; of course there is another national holiday just for sausage pizza, which falls on October 1.
The cool thing about these food holidays is that it doesn’t take a whole lot to celebrate. And since there is one virtually every day of the year, you can pick and choose your favorites. Most local or national chains will offer deals on days related to their foods. But this is also a good opportunity to try making the food from scratch. That’s what I chose to do. For me, the best cheese pizza is the classic NY style.
Unfortunately, we don’t have easy access to the real thing living in Northern VA. Thankfully we have something pretty close in Tony’s New York Pizza with a location within two miles of our house. Ever since my dad moved to the area in the mid-90’s, it’s been our go to local pizza joint. I get a slice of cheese and a Greek salad. Every. Single. Time. The crust is thin, crisp and has that signature NY style chew. The sauce has that tomatoe-y, slightly sweet and herby quality that marks all good NY pizzas.
When creating my home-made version, I found that Serious Eats seemed to have the most detail on the whole process. I mean, they have a whole section on their web site called “The Pizza Lab“. If you’re a pizza lover and you don’t know about this site, please take a moment after reading this to acquaint yourself.
I followed their article on creating NY style crust at home, using a food processor. It has great tips and descriptions of what the dough should look like, taste like…the crisp bottom, the texture where the dough meets the sauce, how it should brown. I think I was able to nail this down, at least the taste and the crispy bottom. Since my husband is gluten free (and the really good stuff needs no kidding for real gluten), I had to find alternate taste testers. Enter my blogging partners in crime and power house food couple: Amy and Adam.
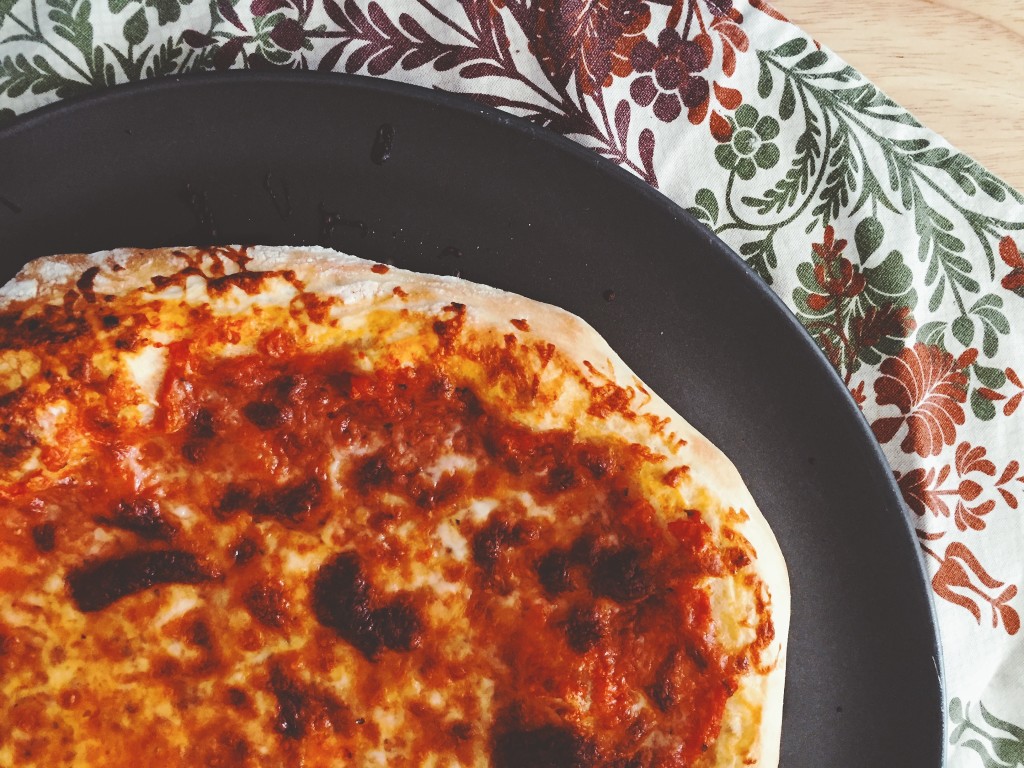
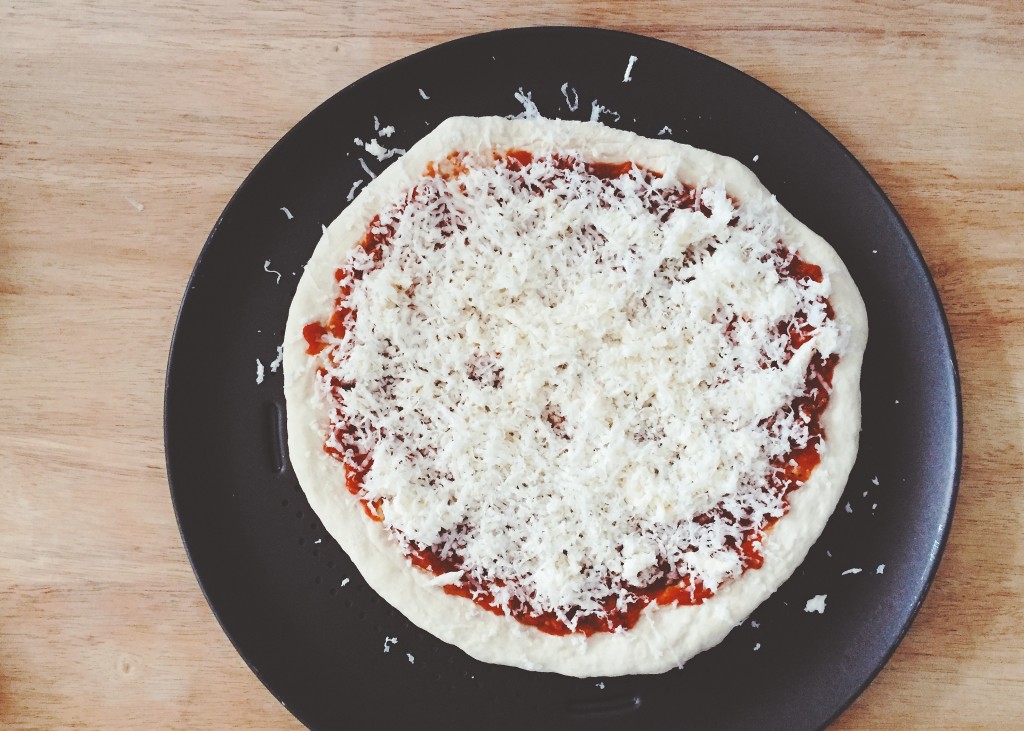
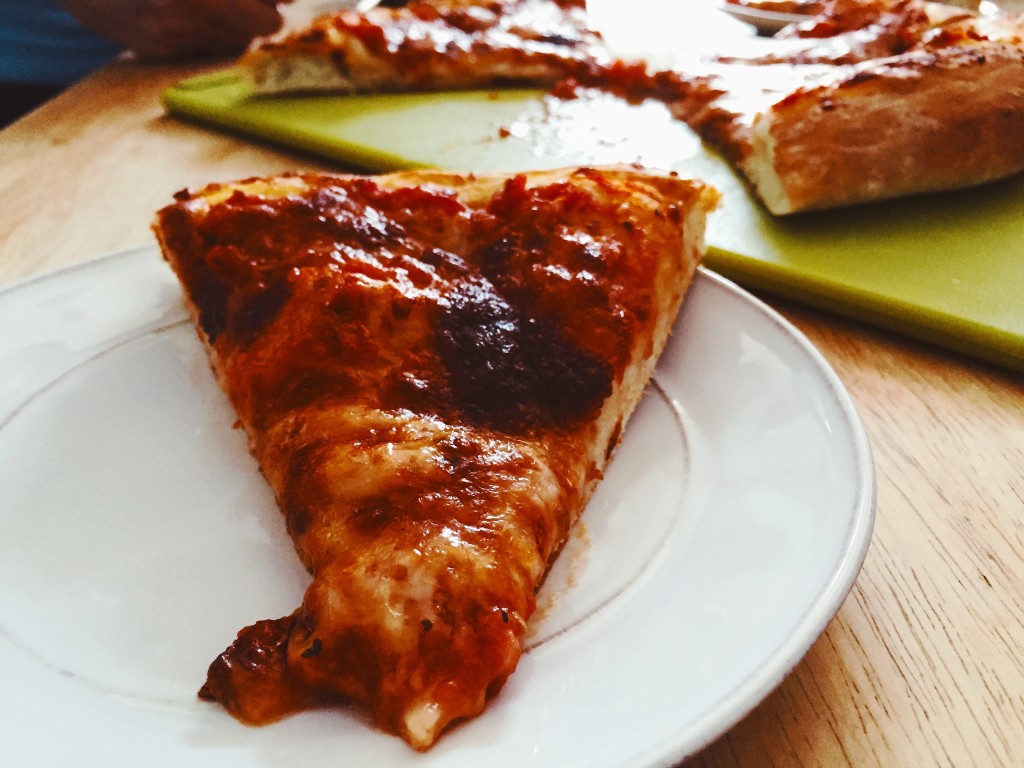 Their verdict? It was really good! Of course, it could have used more cheese, or maybe a mix of cheeses. Check out this great cheese pizza guide comparing different cheese mixes based on browning and elasticity. I had used a block of whole milk mozzarella, freshly shredded. I don’t think it was as dry as Serious Eat’s recommended, but it was good. Amy suggested tweaking the crust with a bit of pepper, Adam thought it needed a bit more salt. The sauce was a hit, even though I was a bit concerned I had added too much garlic and red pepper flakes. We love garlic. And of course, “it could use more sausage”.
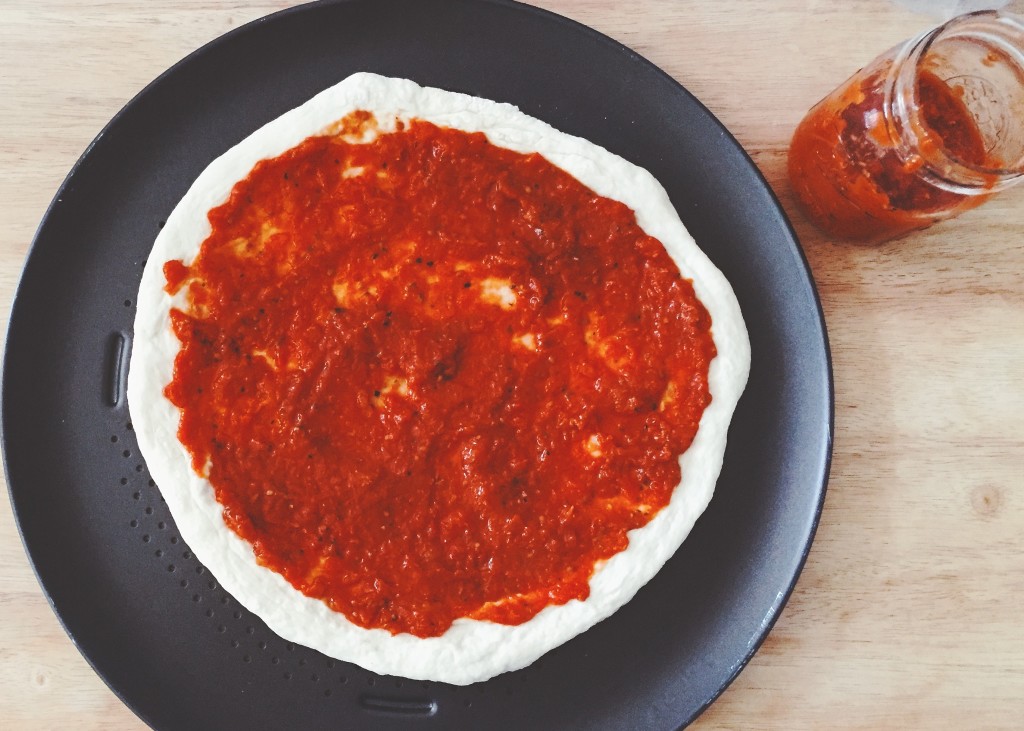
All in all, I was impressed and excited at how easy it was to get this great tasting pizza at home in a simple oven. The only thing I would do differently, as you may be able to tell from my photos, is to spread the dough a bit more evenly. The crust turned out higher than I had imagined it would. It turns out I’m not the master dough thrower I think I am!
NY Style Cheese Pizza
The crust recipe makes enough for three pizzas (or calzones if you so choose). Divide out and make all three in one evening or freeze the pre-risen dough for use later using this guide. If you have kids or a baby on the way and you’re looking for quick, easy things to make ahead, this pizza dough and sauce are great candidates. The recipe makes enough for three pies.
Sauce Ingredients
28 ounce can whole, peeled tomatoes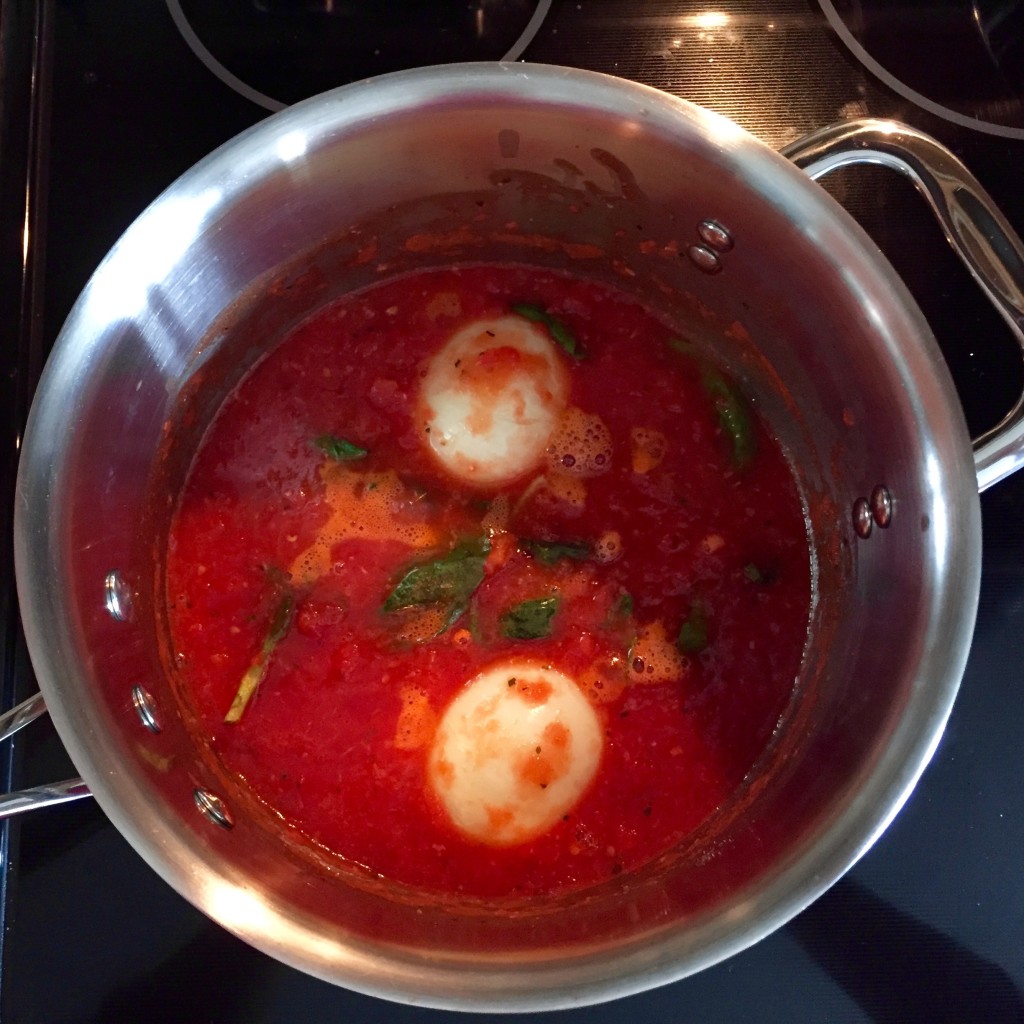
1 tablespoon olive oil
1 tablespoon unsalted butter
3 medium cloves garlic, or equivalent if smaller cloves, finely chopped or microplaned
1 teaspoon dried oregano
pinch red pepper flakes (more/less to taste)
kosher salt
2 sprigs fresh basil with leaves
1 medium yellow onion, peeled and halved
1 teaspoon sugar
Dough Ingredients
4 cups bread flour, more for dusting
1 1/2 tablespoons sugar
3 teaspoons kosher salt
2 teaspoons instant yeast
3 tablespoons extra virgin olive oil
15 ounces lukewarm water
1 pound grated, whole milk fresh mozzarella cheese, placed in freezer for at least 15 minutes before using
 Start with making the dough. This should be done at least one to five days ahead of
time to allow for rising in the fridge. Note, when you wish to make the pizza, allow another hour or more to take the dough out and allow it to finish rising.
In a food processor, add flour, sugar, salt and yeast. Pulse a couple of times to incorporate these dry ingredients. Add olive and water, then run processor for about 15 seconds, until a dough ball forms and “rides” along the top of the blade. Continue processing for another 15 seconds.
 Transfer dough to a lightly floured surface. Knead two to three times by hand until a smooth ball is formed. This helps to develop the gluten, ensuring your dough passes the “windowpane test“, according to Serious Eats. When it passes this test, divide the dough into three equal parts. Place each into quart sized freezer bags or plastic containers and into the fridge to rise for at least one day.
For the sauce, place the canned tomatoes including the water into a blender and pulse until pureed. It shouldn’t be completely smooth, but not have huge chunks.
 Heat a medium sauce pan on medium-high heat, combine and melt the olive oil and butter together. Add garlic, oregano, pepper flakes and large pinch of salt. Cook for about three minutes stirring frequently, till fragrant but not browned. Add tomato puree, basil sprigs, onions and sugar. Bring to a simmer, drop heat to low and allow to cook for about an hour, until the sauce is half reduced, stirring occasionally. When done, remove the onion and basil. Season with salt to taste, then allow to cool. Sauce can be stored up to two weeks in the fridge.
At least two hours before baking, remove dough from the fridge. Form into balls, lightly flour, then place into mixing bowls. Tightly cover with plastic wrap and allow to rise at room temperature, until doubled in size.
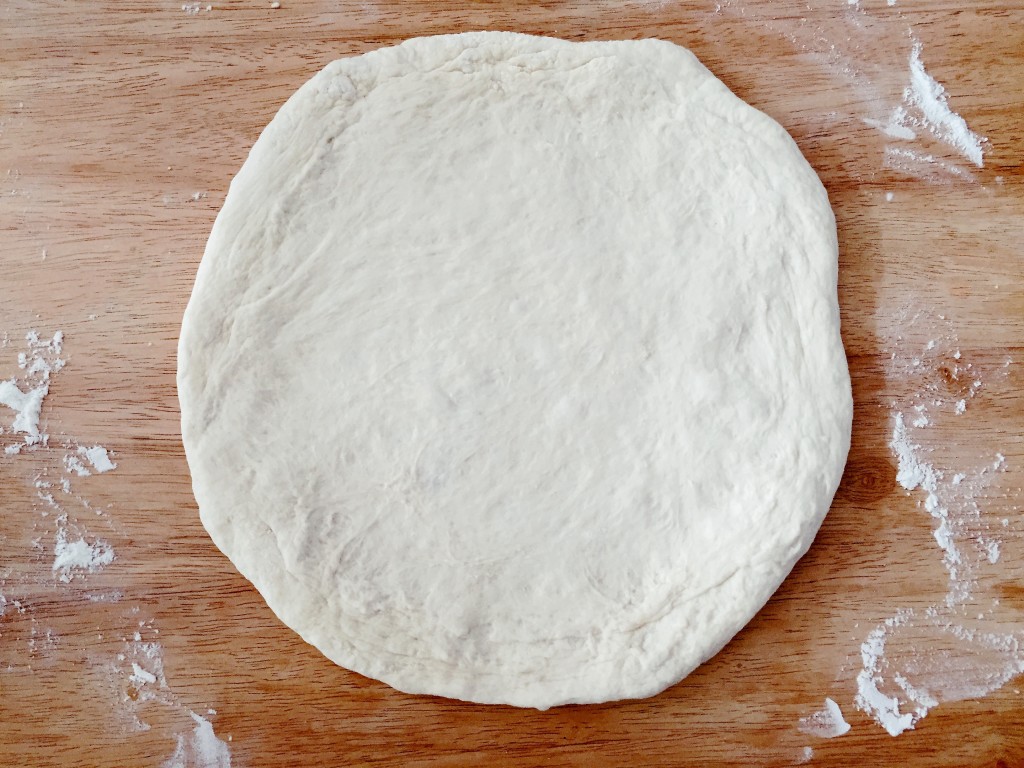
When done rising, set oven temp to 500 degrees. Turn the dough ball onto lightly floured surface. Press dough into a roughly 8-inch circle, leaving outer 1-inch higher than the rest. Then, ever so gently, stretch dough by draping over knuckles into a 12 to 14-inch circle about 1/4-inch thick. Place onto pizza pan or pizza peel, if using a pizza stone set into the oven.
Spread 2/3 cup of the sauce evenly over the crust, leaving enough space for crust. Sprinkle 1/3 of the shredded cheese over the sauce. Place pizza into oven and bake for 12 to 15 minutes, or until cheese is melted with brown spots and crust has browned and puffed. When done, remove from oven and slide onto a cutting board. Slice and serve!
 That said, I’m not one to whip up a shake at home. To me, it’s a treat for a night out, which is also a handy excuse to order an adult version of the frothy frozen treat. Ted’s Bulletin isn’t the only place to grab one in Washington, D.C., these days — though they did make Eater‘s boozy milkshake list this summer.
 Virtually every day on the calendar has a food associated with it. Or, more likely, every food has it’s own national day. You’ll see them pop up on your news feed, or a picture shared out by a friend to alert everyone they are partaking in national donut, slushy, ice cream or hamburger day. Usually, I have no clue until the day is done and I’m perusing my Facebook or Twitter feed as I settle into bed (yes, yes, screen time right before bed is no good.)
 Cheese pizza seems to be one of the most popular pizzas around, with both kids and adults alike. When done with the right cheese, the right crust, you really can’t go wrong. To some, like Founding Foodie Amy, it may sound a bit pedestrian: “You know what this pizza could use? More sausage!” Have no fear; of course there is another national holiday just for sausage pizza, which falls on October 1.
 Their verdict? It was really good! Of course, it could have used more cheese, or maybe a mix of cheeses. Check out this great
 Start with making the dough. This should be done at least one to five days ahead of
 Transfer dough to a lightly floured surface. Knead two to three times by hand until a smooth ball is formed. This helps to develop the gluten, ensuring your dough passes the “
 Heat a medium sauce pan on medium-high heat, combine and melt the olive oil and butter together. Add garlic, oregano, pepper flakes and large pinch of salt. Cook for about three minutes stirring frequently, till fragrant but not browned. Add tomato puree, basil sprigs, onions and sugar. Bring to a simmer, drop heat to low and allow to cook for about an hour, until the sauce is half reduced, stirring occasionally. When done, remove the onion and basil. Season with salt to taste, then allow to cool. Sauce can be stored up to two weeks in the fridge.