How To Make Ice Cream With Your Bare Hands (And A Freezer. And A Bowl. And Ingredients.)

IceCream - 1Oh, summer! The scorching, sweltering, suffering days make this my least favorite of seasons. You may notice by my choice of adjectives that I, quite literally, can’t take the heat. There’s something about condensation on my skin from simply standing in open air that I just don’t appreciate.

In fact, I would boycott summer entirely if I could. Since I can’t, living in the sweltering Bible Belt as I do, I eat my feelings instead. When I’m hot, I’m cranky. My first inclination is to grab something delicious to balance my negativity. Which brings me to my point, and my favorite food group: The delightful hero of all desserts—ice cream.

Ice cream is very important.

That bears repeating.

Ice cream. Is. Very. Important.

I’m admittedly obsessed, but to be fair—it’s in my blood. My grandfather used to always cross himself when he had to drive past a Dairy Queen without stopping. My mom has at least two cartons of our chosen vice in her freezer at all times, nestled snugly between frozen peas and chicken. I was raised eating the creamy stuff to celebrate all occasions, no matter how minor or monumental.

I like to imagine myself raising my future spawn to snack solely on homemade kale and barley popsicles. But I’ll be honest—more for my sake than yours—that the ice cream habit will most likely be passed down to yet another generation.

Imagine my delight when, in my junior high science class, I realized that I could concoct this refreshing delicacy solo. All I needed were my own hot little hands and a few simple tools: A technique somewhat similar to this tutorial (minus the ingenious treadmill hack). Our science teacher had us roll the coffee cans back and forth on the concrete floor by hand for what felt like (OMG) HOURS of my 13-year-old life. But oh the reward for our efforts!
IceCream - 4
From that moment on, I developed a deep passion for handmade ice cream.

Knowing this, you wont be surprised to find that after my husband proposed, one of the first things I registered for was a stainless steel Cuisinart ice cream maker. My husband thought it was a little silly—something we would never use, a kitchen gadget akin to an egg cuber or a hotdog bun toaster.  I promised to prove him wrong, and prove him wrong I have.

Making your own ice cream is fun. It can be a cool way (forgive my pun) to experiment in the kitchen: It’s not difficult, and homemade ice cream is always a crowd-pleaser.

Today, I’m sharing two D-I-Y recipes.  We’ll start simple, making an ice cream using just a bowl and your freezer. Then we’ll move on to a more complex recipe that requires a blender and an ice cream maker.

For this first recipe, you’ll need a large bowl (preferably stainless steel, but glass would work), a whisk, aluminum foil, a sealable container to store the ice cream in and access to a freezer. Also, it’s best to do it earlier on in the day, and possibly the weekend if you work or go to school: The freezing process will take three to four hours and you need to be there to stir it once in a while.


Excellent Basic Ice Cream

2 cups whole milk (2% will work if you’re watching the caloric intake)
2 cups heavy cream
1 cup sugar
1/2 teaspoon salt
1 teaspoons vanilla extract

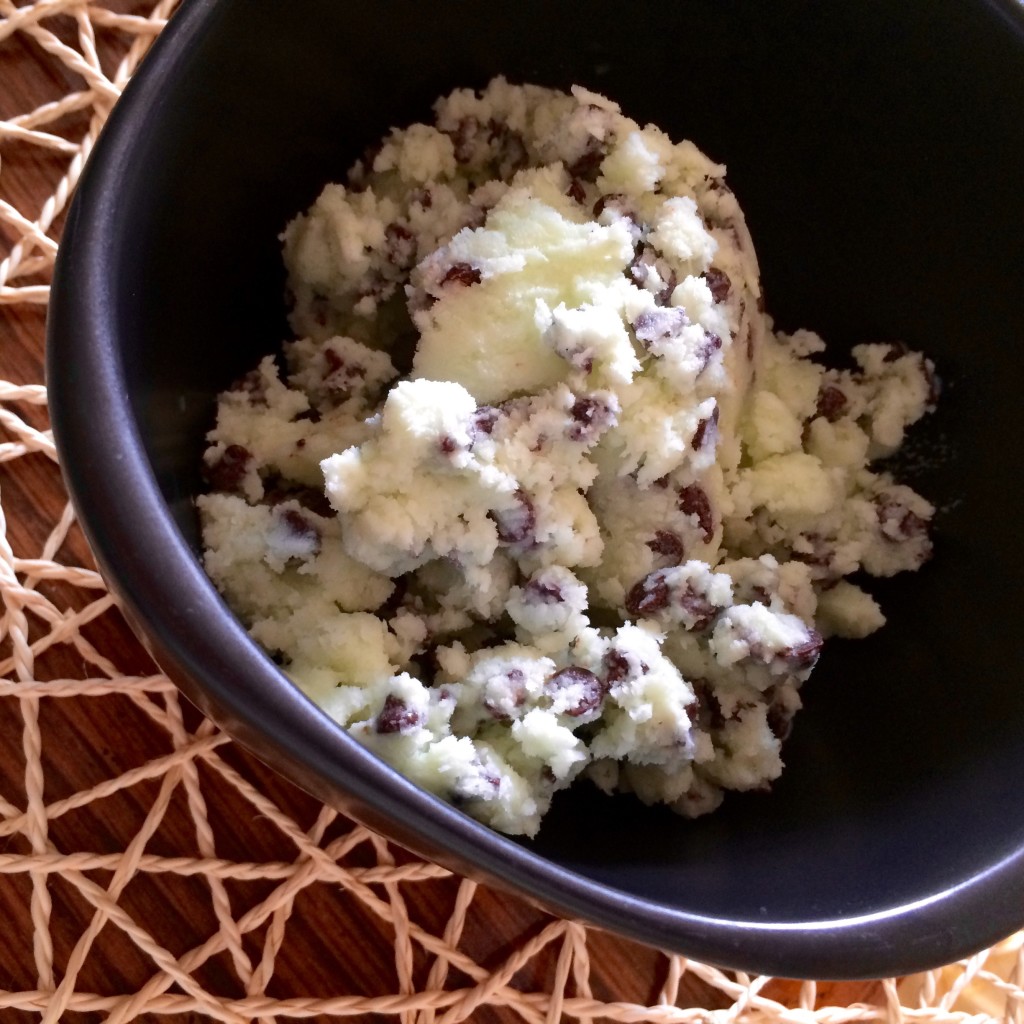
This recipe is a great as is, but I always add things to make it fun. Today, I’m going to make it a classic Mint Chocolate Chip Ice Cream by adding the following:

1 teaspoon mint extract
2 cups mini semi-sweet chocolate chips (or 1 cup if you don’t like chocolate crammed into every bite like I do… (you weirdo)
Food coloring (I chose green because I’m boring, but might I suggest purple?)

IceCream - 6In the large metal bowl, add all ingredients excluding mix-ins (candies or other crunchy yum yums that are to be suspended at random in the creamy goodness.)  In this version, we’ll set aside the mini chocolate chips.

Whisk together thoroughly and cover bowl with aluminum foil.

Place bowl in freezer and set your kitchen timer to 30 minutes.

After 30 minutes, remove from freezer and whisk the mixture for a few seconds, making sure to scrape the sides of the bowl. Recover with foil and again place in the freezer.

Repeat this process, removing the bowl from the freezer every 30 minutes to mix. The third time you mix, you will start to see the ice cream forming around the edges. The fourth time you mix, the ice cream should be thick enough to add your mix-in of choice.

Keep freezing and mixing every 30 minutes until you are satisfied with the consistency of the ice cream.  Most people are happy by the 5th or 6th time, but no judgment if you like your ice cream rock solid.

If there are any leftovers (lol), keep them fresh in a sealable storage container.  I like Glad FreezeWare.

Other ideas for mix-ins:

  • Orange liquor with mallow swirl
  • Crushed pineapple and shredded coconut
  • Nutella swirl, banana chunks, and toasted slivered almonds

The possibilities are endless, and the results are usually delicious… don’t get too crazy on me.

Cherry Cheesecake Ice Cream

For this next recipe, you will need a blender and an ice cream maker.

** Before beginning, make sure you have followed your ice cream maker’s prep instructions. Most brands require that you freeze an inner bowl for several hours before making ice cream.

4 cups whole milk (2% is okay as well)IceCream - 2
2 (8 oz) packages softened cream cheese
1 1/2 cups white sugar
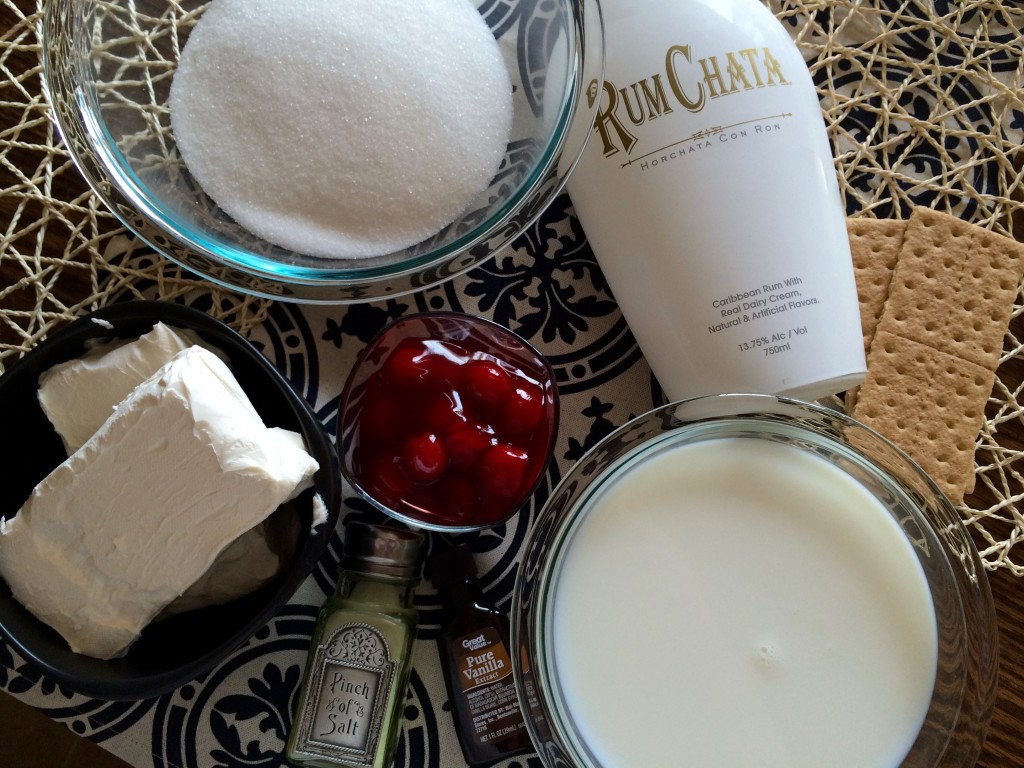
1/3 cup Rum Chata (this isn’t required, but the Rum Chata really makes it sing. You can always use a teaspoon of cinnamon instead. It won’t be quite as good but it will still be lovely.)
1 tablespoon vanilla extract
1/2 teaspoon salt
1 package cinnamon graham crackers
1 21 oz can cherry pie filling

Pour milk into blender. Cut the softened cream cheese into chunks and add to milk with sugar, Rum Chata, vanilla extract and salt. Pour as much of the cherry pie filling in as your heart desires—I use about a 4th of the can. Blend until smooth, stirring occasionally with a long spoon if needed.

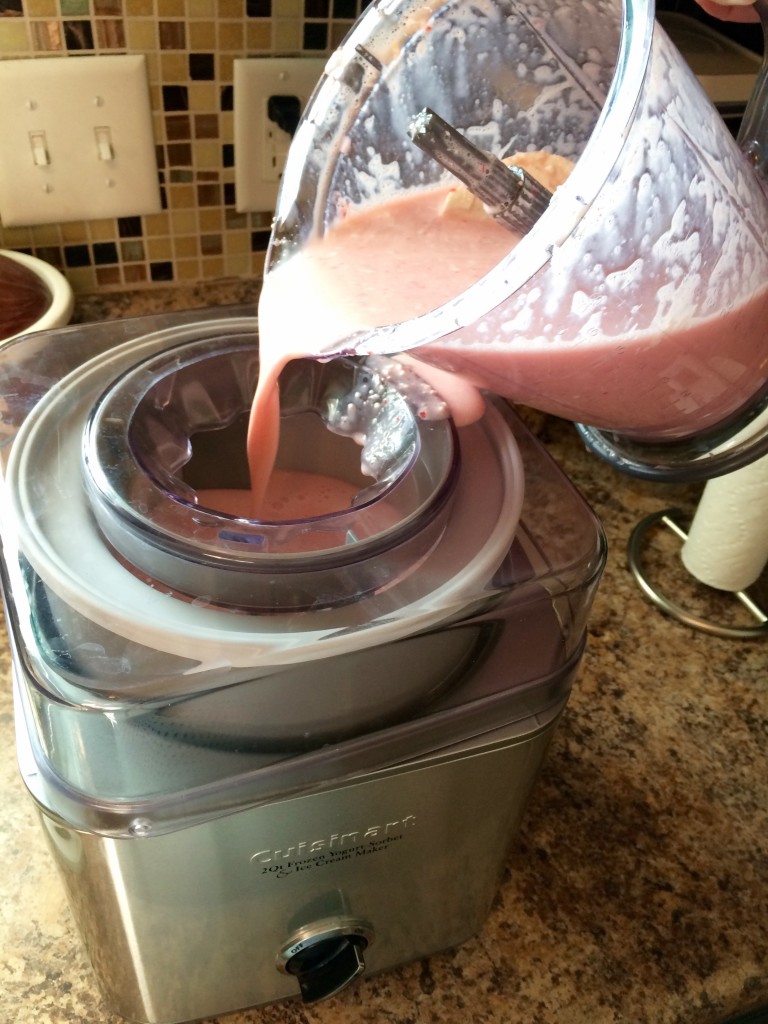
Follow your ice cream maker’s instructions. Mine has you turn on the maker and slowly pour the mixture into the rotating bowl, leaving the ingredients to stir and meld together until finished.

Set your kitchen timer for 15 minutes. Check on the ice cream: It should be forming nicely. Add your mix-ins at this point. For this recipe, I add another 1/4 of the cherry pie filling can to get some good cherry chunks, and four coarsely crushed graham crackers for texture.

Continue to follow your ice cream maker’s instructions until the ice cream is the desired consistency. My maker is usually done in about 30 to 40 minutes.

Serve with graham crackers and cherries. Store leftovers in a sealable storage container.

Like the first recipe, this is completely customizable and you should definitely experiment with the ingredients! Enjoy these delicious recipes and have fun creating some of your own! If you find a particularly tasty variation, please do share it with me in the comments section here. I’ll willingly gain three pounds to test your creations.

And for heaven’s sake, leave your kale-pops at home.

Tagged with: , , , , , , , , , , , , ,
Posted in Dear Diary

Hot Dog Days Of Summer (At The Ball Park)

HotDogs - 6It’s as American as baseball and one of the most iconic foods of summer.  Found in the ballpark or on the grill in the backyard, hot dogs are never in short supply as the days get hotter and longer. Yes, they may be pretty basic … and yes, I often ask myself “What’s in these things anyway?”, but they can be elevated.
With baseball season in full swing, each year major league ballparks around the country serve up crazy and extreme takes on this summer classic. From dogs wrapped in bacon or brats (a la turduckens in a bun) to toppings of mac ‘n cheese or poutine, the possibilities are limitless. These concoctions may seem more than a little ridiculous, but at least it beats the boring ketchup-mustard combos of our youth.

Each park’s “signature dog” reflects its city or region. Baltimore adds the Chesapeake area’s crab atop theirs, while Cincinnati opts for the city’s cinnamon spiced Skyline Chili coney. Of course, there are the cities who already have signature wieners. Chicago-style looks as though the dog has been dragged through a garden with tomato, pickle spears, onions and pickled peppers. Originating in New York and making a lasting impact in the heart of Michigan, there’s the Greek coney island, topped with a savory meat sauce, fresh chopped onion and mustard. In Washington, D.C, where We The Eaters calls home, Ben’s Chili Bowl half smokes are an institution. So, if you go to a Detroit Tiger’s or a Washington National’s game, you’re sure to find their city’s dogs at the concession stands.

And it’s not just the style of how you dress your dog that makes the city. The actual wiener itself can be just as representative of the region. New York parks carry the region’s famed Nathan’s brand, the same that sponsors the yearly eating contest. Then there are the stadiums for both the Houston Astros and the Texas Rangers who serve up hall of fame pitcher Nolan Ryan’s all-beef dogs … yes, apparently his passion is cattle ranching!  Fenway Park’s dogs are from local Massachusetts favorite Kayem.

Whether a baseball fan or not, you’re bound to have someone in your life who will drag you to a park. This is the time of year when the post season and wild card races start shaping up. But that’s coming from a life long fan (let’s go Bucs!). These signature hot dogs – whether they’re regional, innovative or just plain monstrous – make the game interesting for sure.

Not ready to venture out? Take these lessons to your backyard barbecue. Have a favorite comfort food or take out dish? Try interpreting it on top of your dog … think of the Baltimore Oriole’s mac ‘n cheese dogs. Make a killer slaw? Throw that on! Raid your garden or farmer’s markets for fresh, in-season toppings. Just start with a good quality wiener and a sturdy bun. The rest is up to you. Be brave!

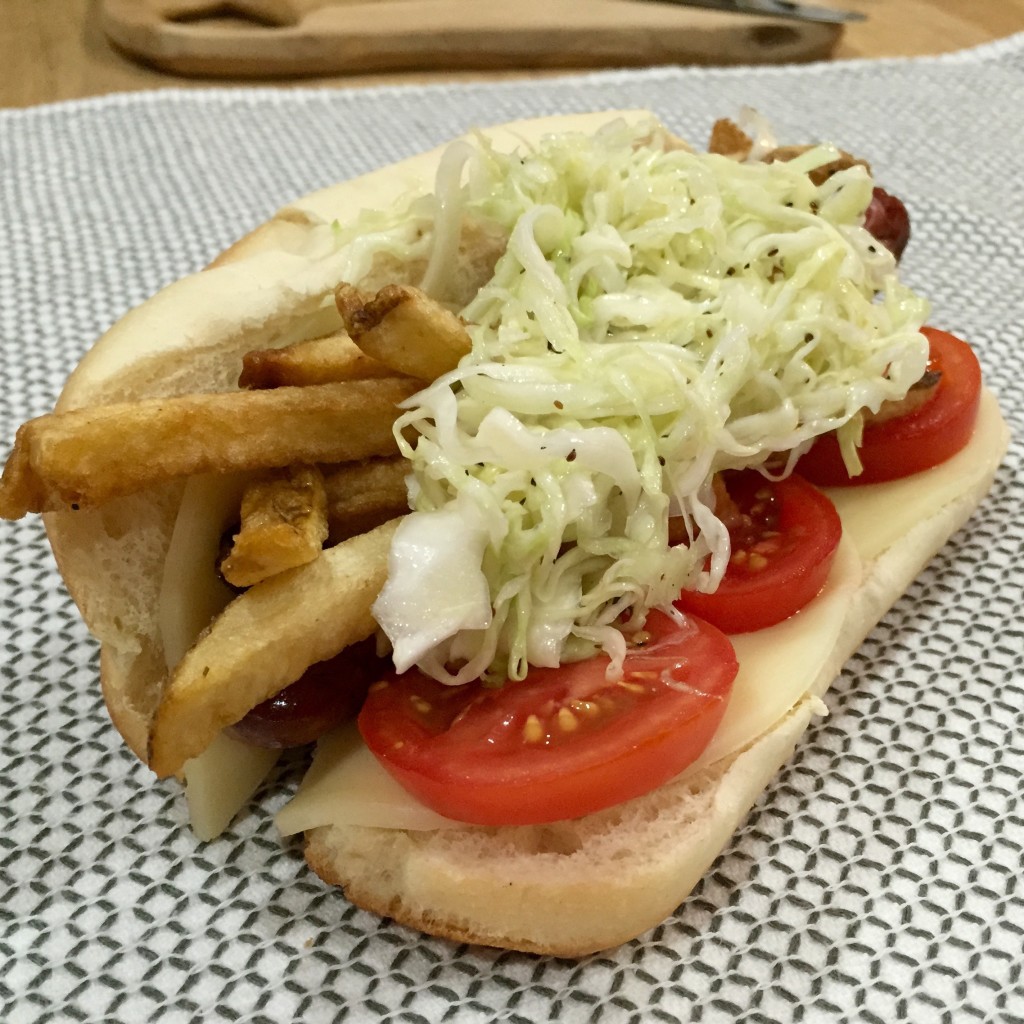
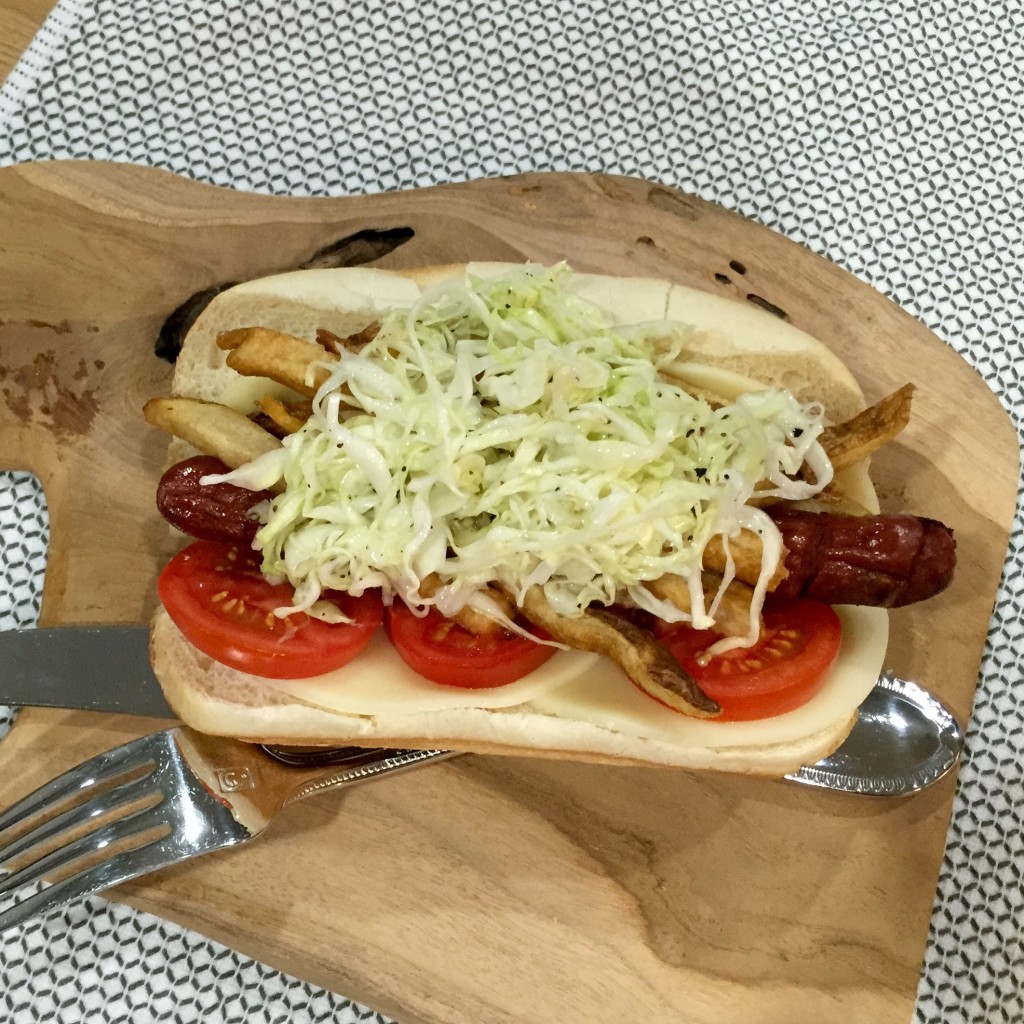
Being a Pittsburgh Pirate’s fan, I had to try my hand at a Primanti Brother’s inspired hot dog. These “sammiches” are by definition crazy … overloaded with cole slaw, tomatoes and french fries. It takes a brave person to eat one for sure.

Pittsburgher-style Hot Dog
While I had the components down pat, I’d never made them from scratch. And watching my dad make it for a Super Bowl one year doesn’t count! I started with a basic recipe from epicurious.  

Cole Slaw
1 pound finely shredded green or savoy cabbage (about 6 cups)HotDogs - 2
1/2 cup sugar (less to taste)
1-2 teaspoons Kosher salt
1/4 teaspoon celery seed
1/4 oil
1/4 apple cider vinegar
freshly ground black pepper

Fries
3-4 Russet potatoes
vegetable oil

sliced tomatos
several slices Provolone cheese
hot dogs
thick hot dog buns or crusty Italian bread

Combine the shredded cabbage, sugar, salt and celery seed in a colander set over the sink or a bowl. Let it sit for about an hour. The cabbage will release liquid as it sits. Discard the drained liquid, then add the oil and vinegar. Toss it all together, coating the cabbage. Season with pepper and refrigerate till ready to assemble.

Cut unpeeled potatoes into sticks about 1/4 to 1/2 inch thick. Heat 1 inch of vegetable oil in a deep skillet over medium heat. The oil is ready when the tip of a potato really sizzles on contact. Carefully slide the potatoes into the oil to fry over moderate heat, turning occasionally with tongs, until crisp, golden brown, and cooked through, about 8 to 10 minutes. Don’t let the fries brown too quickly! (They might remain raw on the inside and burned on the outside if they are cooked too fast.) Drain on paper towels, and season with salt.

Cut the potatoes to about 1/4 to 1/2 inch thick fries, leave the skins on! Heat about 1 inch of oil in a skillet over medium heat. Add the potatoes to the oil and fry, turning with tongs so they cook crisp, golden brown and all the way through … about 8 to 10 minutes. Using tongs, remove and drain on paper towels, season with salt.

Grill the hot dogs using your preferred method, just make sure they get a good color on them.

Assemble everything – open a bun, place the dog, add small cheese and tomato slices, top with fries and last, but not least, cole slaw. Eat … and try not to spill!

Tagged with: , , , , , , ,
Posted in Dear Diary

Iced Coffee: Chill Out While You Rev Up

Yeah. I’m that guy.iced_coffee - 20

I’m an all-season hot coffee man. Spring, summer, winter, fall … no matter the season, you can find a cup of Joe in my hand. On chilly days it warms me up. During the summer when the mercury is blasting through the top of the thermometer? You guessed it. My theory is that hot drinks help your body adapt to hot weather, which may not be so crazy after all.

But, my coffee love doesn’t really stop there. Coffee ice cream? Yep. Coffee mixed in when my wife whips up pot de crème? Heck yeah! (Check here for Chef Lee Vance’s version. She doesn’t add coffee, but you could give it a try! )

All that being said, it’s a little weird that I’m not a fan of … iced coffee.

I’m not sure why, but it just hasn’t translated to my palate. Part of it may be my affinity for drinking coffee black (unless it’s an Irish coffee).  On top of that, a big part of my coffee experience is enjoying it hot. Inexplicably, it seems the molten “muddy” coffee hasn’t made for an enjoyable translation to an iced beverage for me.

So with that mystery in mind and looking for ways to chill out during the summer, I thought I’d try to overcome my frosted reservations by brewing up my own ice coffee.

The Quickie:iced_coffee - 5

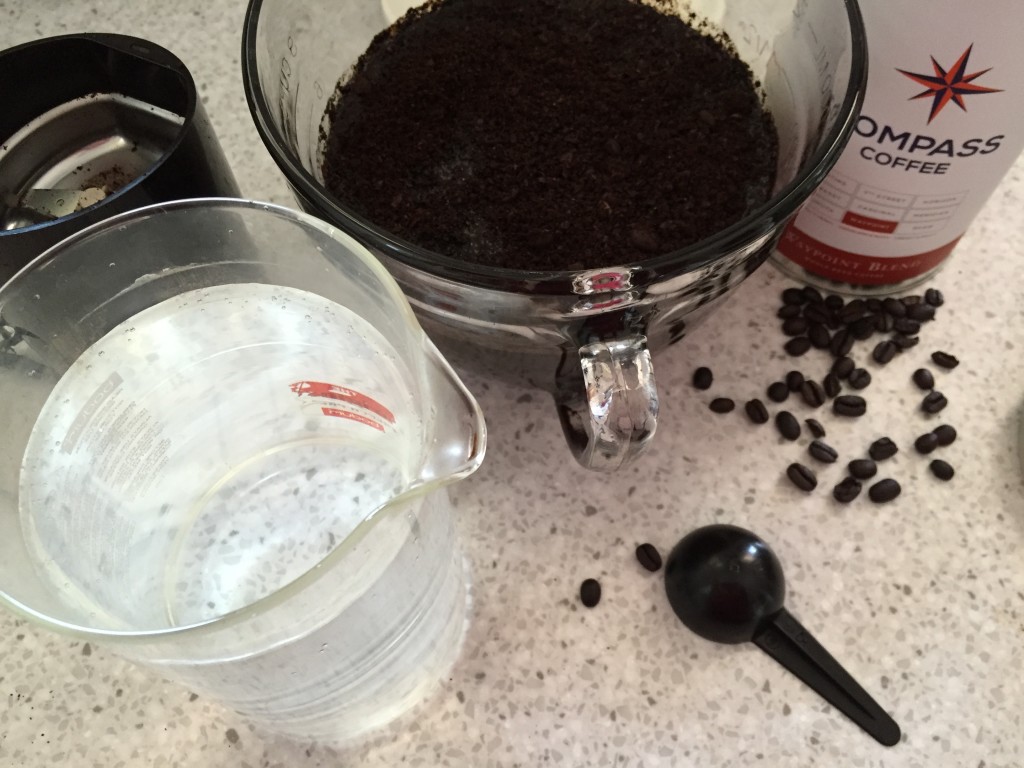
7 tablespoons dark roast coffee (I prefer to grind the beans)
5 cups boiled water
1 splash milk
2 teaspoons sugar

People are going to tell you it takes hours to brew good iced coffee, but I’m here to tell you I don’t believe that’s true.

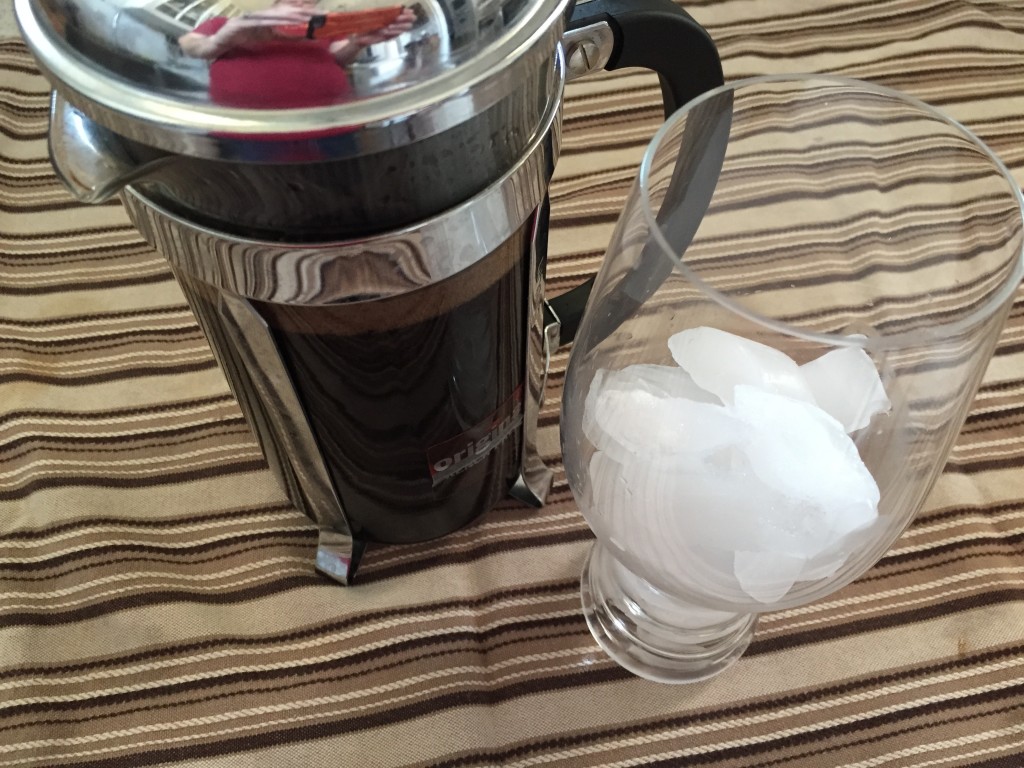
The concern with simply pouring hot coffee over ice is that it dilutes the coffee. While this certainly can be true, I counter this concern in 2 ways. First, I make hella strong coffee. I grind about 7 tablespoons of dark roast beans and let it brew in the French press several minutes longer than normal. Second, I make iced coffee into dessert coffee. That is to say, I add cream and sugar.

For all intents and purposes, make yourself a hot batch of coffee in your French press (or brewing vessel of choice). Fill a glass with ice, then slowly pour the coffee over the ice. I’m particularly cautious here to not just dump it in. Hot coffee + ice + glass … I just have visions of bad things happening. But if you take your time and pour it over the ice it chills the coffee and doesn’t blow the glass to smithereens.

Now, add cream and sugar to your taste. Or not. Your coffee, your call.

Voila! Semi-instantaneous iced coffee. Sip and enjoy.

The Long Haul:

iced_coffee - 214 tablespoons dark roast coffee (or to taste)
10 cups cold filtered water

I’ve never cold-brewed coffee before, so I leaned on some tips from ThePioneerWoman.com to help me figure things out.

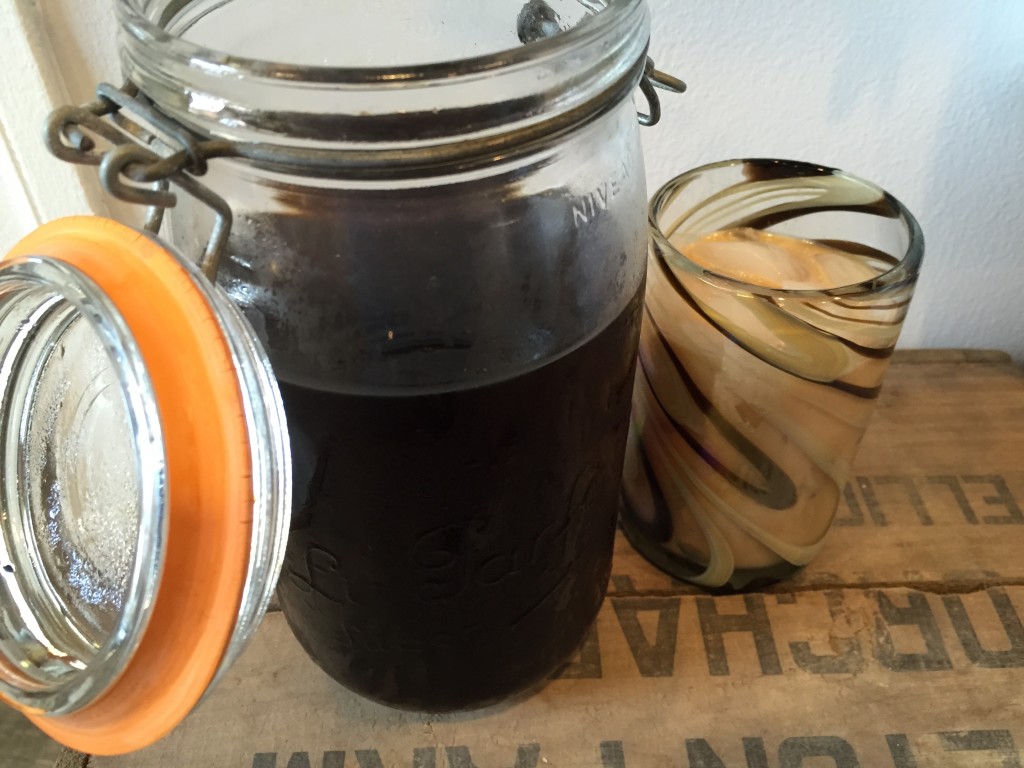
Of course, if needed, grind your coffee. Place it in a large container and mix it with cold, filtered water. Stick it in the fridge and let it brew for about 8 to 12 hours (depending on your brew strength preferences).

Now comes the fun part:

The link I referenced suggests using a fine strainer and cheesecloth to strain the grounds from your brew, pouring through this filter and into a new container. I, having access to neither at the time, used a small strainer and a coffee filter. It wasn’t fun. But be smarter than me and use the strainer and cheesecloth.

Purists swear by this coffee. For me, the labor wasn’t worth the outcome. Again, I added cream and sugar. Frankly, it didn’t taste any different than my Quickie version. I think the biggest plus to this method is that you can brew a higher volume. I’m definitely willing to take another stab at this and try using the strainer and cheesecloth to see if it’s a less annoying experience.

All in all, the coffee was good. But I’m still going right to that steamy cup of Joe to keep me chilled out when things heat up.

Tagged with: , , , , ,
Posted in Dear Diary
photo credit to Aaron Otis Photography 2014


July
Watermelon is the perfect summer food. It hydrates, it cools, it's sweet and juicy. We have some great ideas for your table, including a salad, ceviche cups, popsicles and cocktails. Get ready to beat the heat with us!