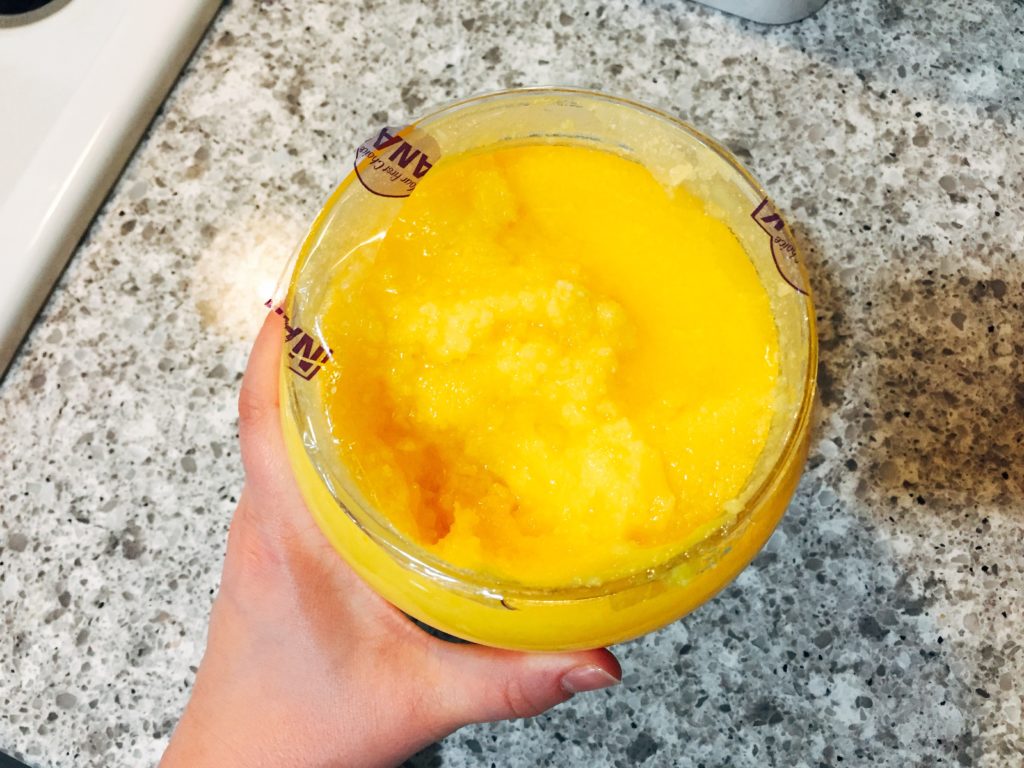
The Even Better Butterfat Siblings: Clarified and Ghee

Two years ago I did the Whole30 diet and my love of ghee was born. Since then, I keep a jar or, thanks to Costco, a tub stocked in my pantry next to my olive oil. It’s one of my favorite fats. And no wonder, it’s born of butter.

This is our last week talking all things butter. We started with how to make your own. So, if you’re following along, you then flavored it and browned it. Now we’re transforming it.

If you don’t know, Whole30 is basically an elimination diet. Remove the things that may be causing you problems to see if you have any food sensitivities, the usual culprits: sugar, gluten, wheat, certain nuts, dairy, etc. Insert record skip here. Dairy? But butter = dairy … right?

That’s just it. While it starts from a dairy product, the process of making ghee completely removes any dairy proteins or lactose, the stuff that you might have an intolerance to. Think of it like transmogrified butter – it’s transformed and magical.

But why is this particular fat such a favorite of this diet? It’s rare to encounter one with high nutritional content and such a high smoke point.

Ghee, while mostly composed of pure unadulterated fat, also contains significant amounts of vitamins A, E and D, as well as Omega-3’s and butyric acid. These have been linked to anything from heart and eye health to a boosted immune system. Of course, as with any fat, no matter the health benefits, you should watch how much is going into your diet. A little goes a long way!
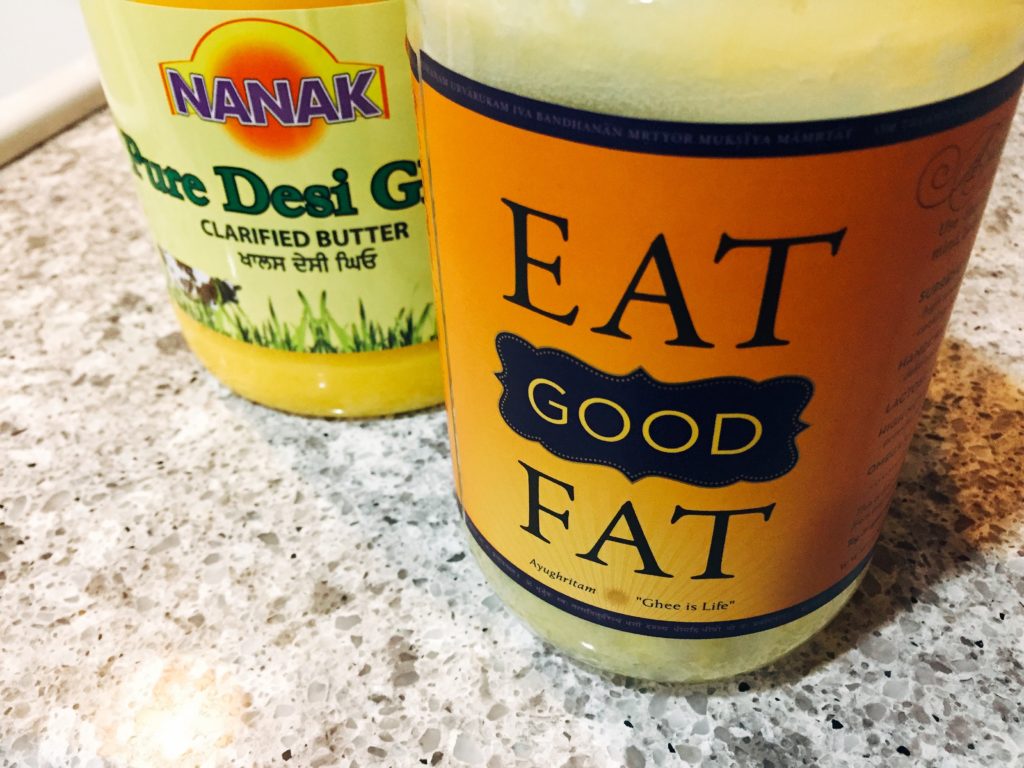
OK, so it’s not too shabby in the health department, but what’s this high smoke thing all about? I’ll let Serious Eats school you on what high smoke points are and why you should care when choosing a cooking oil. Long story short, a higher point lets you do more things with it. It’s smoke point is 450 degrees, same as it’s sister, clarified butter (we’ll get to that in a second), that’s higher than coconut oil and butter itself (both at 350 degrees).

I fell in love with ghee’s flavor and aroma. It has a pleasant nuttiness to it, a fuller and deeper flavor than other oils or butter. If you make it yourself, you get a hint of browned butter. Heck, it’s almost the same process. One of my favorite ways to use it is to cook eggs – it’s flavor is a great compliment to the eggs and it gets a good crispiness to the edges when fried. But it’s great used in just about any scenario – sautéing vegetables, pan searing chicken or pork, frying rice. Just about anywhere you’re using a fat, swap it with ghee and it will taste better.

Ghee is also a staple of Indian and some middle Eastern cuisines. It originated in India and many traditional dishes are made with it. My co-worker, an Indian immigrant, was surprised to hear that we use ghee on a regular basis at our house. He and his family keep a jar for cooking as well as for their kids to eat raw on top of certain breads. I quickly pointed him to the giant tub and great price at Costco.

Let’s circle back to clarified butter … isn’t this the same thing? Yes, and no. It’s the short hand version of ghee. Most of the process for making ghee is the same process as making clarified butter, only a tad bit longer. Ghee goes a step further, cooking longer to remove the water from the butter. It also has a nuttier flavor.

So, if you can buy it, why would you ever make it? Personally, the only reason I would make my own is for cost. It is not cheap stuff, unless you find that huge tub of it at Costco, as mentioned earlier. And, like in the original butter making post, if you care about where you source your dairy – grass fed, local, no-hormones – you’ll start with butter either made by you or your favorite dairy. The process isn’t hard or time consuming either. It just takes a bit of butter and some kitchen tools.

Making Your Own Ghee
This process is not complicated and you may have all the tools you need in your kitchen already. You’ve got clarified butter once no more foam appears on the top, ghee goes longer until the color changes.

Ingredients
butter, unsalted, as much as you prefer

Tools
saucepan
spoon
strainer
bowl
cheesecloth, or coffee filter
jar or glass container with a tight fitting lid

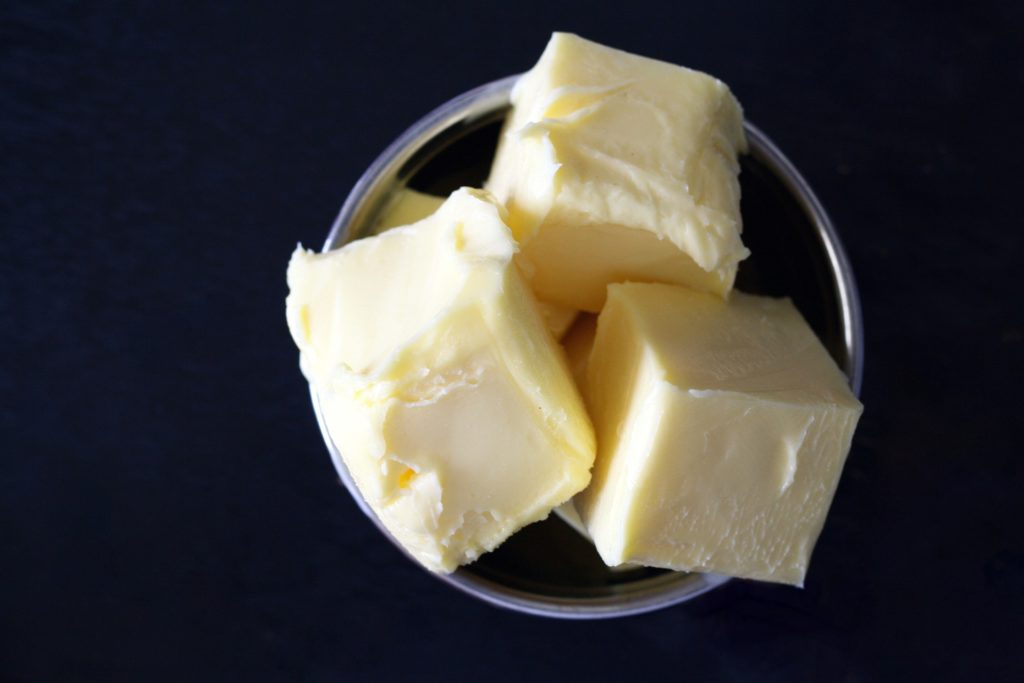
In saucepan, over medium-high, melt the butter. Once it’s melted, turn down the heat to low and allow to simmer. As it simmers, foam will start to rise to the top. Skim this off. Solid particles will also start falling to the bottom of the pan. These will be strained out later.

Line the strainer with the cheesecloth and place over a bowl.

If making clarified butter, wait until no more foam appears on the surface of the melted butter, then strain. Allow to cool and add to a jar.

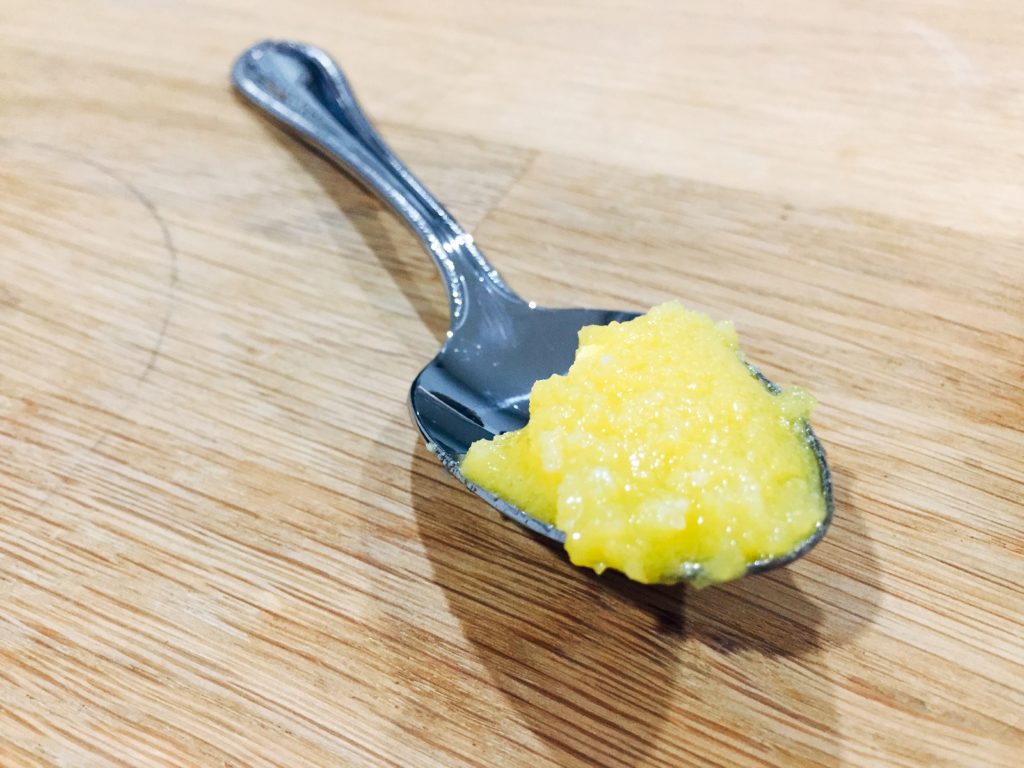
If making ghee, continue to simmer over low heat until the color changes to a golden yellow and turns clear. You will also see the remaining foam clump up and fall to the bottom of the pan. Strain the ghee and allow to cool before adding it to a jar.

Tagged with: , , , , , , ,
Posted in Dear Diary

Butter: Better Brown (Plus An Oreo Brookie Bonus)

“Ooh-oo child, things are gonna get easier. Ooh-oo child, things’ll get brighter. “

                                                                                                                                                                                           ~ The Five Stairsteps

When a foster child first comes to our home, things tend to be nuts. There’s visits from the child’s social worker, our family support worker and the attorney or Guardian ad litem (GAL). If the child is an infant, there’s also often a nurse care manager, and, as with our current placement, a home health nurse and a few others in the cast of characters that compromise the team responsible for the child’s well being.

As children often arrive in the middle of the night or the wee hours of morning, we hit the ground running as soon as we wake up. There’s calls from the agency to make sure the child did indeed arrive. Calls from us to doctors to make appointments, as kids in care—especially infants—need to get caught up on well baby/child appointments and immunizations. That’s a huge step toward our second imperative: securing daycare. Ever try getting a baby into daycare at the last minute? Yeah, well, the waiting lists in DC for good daycare is typically eight months long. Or longer.

Then there’s the “little” things, like making sure we have plenty of seasonally appropriate clothing for said precious one. My husband and I are licensed for three children from zero to eight years old. With roughly three-ish seasons here in the District, that’s a whole lot of storage that we simply don’t have. I am stocked with basics as a result, so we are always in need of adding items once kids arrive. The agency helps with this a little bit, but the process often takes several weeks. Not ideal. Then there are diapers, wipes, formula, bottles, bibs and all of the many, many things you need when a child comes to stay with you for a period of time that is nearly always unknown.
All this to say that our first few weeks are rough. It is a lot of work logistically, as well as emotionally. We have this stranger placed in a house with strangers caring for them. Nothing is familiar. Different sounds, different smells, different schedules and patterns. Different expectations. We need to quickly acclimate to a new presence who is traumatized in a way very few people will ever understand.

We gently dry tears, and attempt to overcome what these tiny humans have experienced by replacing those tangible drops of sadness with big smiles and belly laughs. With older kids, we make pancakes and pillow forts. With the littlest, we focus on read stories and fun tickles. We offer both an endless supply of snuggles. My prescription for each of these beautiful babies is a thousand kisses a day. Lots of attention, plus lots and lots of unconditional love. And cookies.

All the cookies.

As you might have read previously, my go-to chocolate chip cookie recipe from Serious Eats is made with brown butter, hence its inclusion among this month’s posts.

There’s about a trillion uses for brown butter, be it breakfast, lunch or dinner. Then there’s my favorite: dessert. Hence the theme of this post, which takes those amazing cookies to new heights in a dirty-but-delicious marriage brownies and cookies, two of our favorite sweet treats. (Just a side note that the additional of Oreos here actually make these what are known as “Slutty Brownies,” but this is a post about kids, so I’m trying to keep in PG-13 here. And “slutty”… well, that’s not a very nice thing to say, anyway.)

Check out this video for an awesome how-to on making brown butter, then join me below to whip up these soon-to-be party favorites. I made them to send along with our current foster daughter as she visits her parents tomorrow. We do this to begin building a bridge (as only food can!) before we are able to meet and connect with them about their beautiful babies. Yummy goes a long way toward cementing a fast friendship.

Wouldn’t you agree?

Oreo Brookie Brownies (And Then Some)
In addition to the Serious Eats article linked above, this dish was inspired by What’s Gabby Cooking. Don’t feel up to making this from scratch? I give you permission to use a box mix for both the cookies and the brownies. While we always prefer making stuff from scratch, sometimes you just have 20 minutes. And it isn’t like you are eating them every day. Are you? Please don’t… we have no desire to contribute to your delinquency!

For the cookie layer:
8 ounces (2 sticks) unsalted butter
2 cups all-purpose flour
3/4 teaspoon baking soda
2 teaspoons kosher salt
3/4 cups cane sugar (granulated sugar is also fine)
2 large eggs
2 teaspoons vanilla extract
1/2 cup plus 2 tablespoons packed dark brown sugar
8 ounces dark chocolate chips (or chopped bar chocolate)

For the brownie layer:
4 ounces (1 stick) unsalted butter
1 cup cane sugar (again, granulated is fine)
1/2 cup unsweetened cocoa powder
1/4 teaspoon kosher salt
1/4 teaspoon baking powder
1 teaspoon vanilla extract
2 large eggs
8 ounces dark chocolate chips (or chopped bar chocolate, optional)


Additional ingredients:
About 1 package of Oreos, regular… or double stuff (I mean, if you are going to be bad… why not be really bad?)

Method:
Preheat oven to 350 degrees. Line a 9×12 inch aluminum or metal pan with aluminum foil. Spray with cooking spray.

For the cookies, brown butter in a saucepan over medium-high heat. (Check out the video linked above for a tutorial.) Transfer to a glass bowl and whisk in an ice cube to begin the chilling process. Transfer to refrigerator to cool completely. This usually takes about 20 minutes. Stir occasionally to keep well mixed while chilling.

In a large bowl, whisk together flour, baking soda and salt.

Add sugar, eggs and vanilla extract to the bowl of a stand mixer fitted with the whisk attachment. Whisk on medium-high speed until pale brownish-yellow. After about 5 minutes, this should fall off the whisk in thick ribbons when lifted. You can also do this step by hand… it just takes  a bit of elbow grease and a little more time.

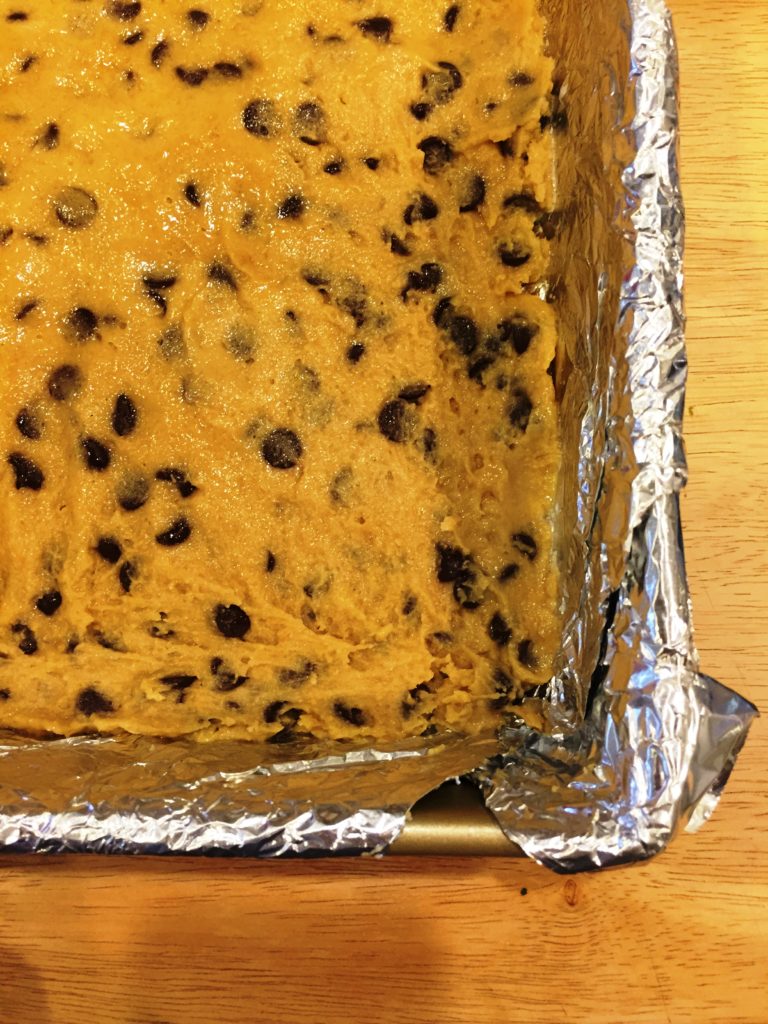
When brown butter mixture has cooled (begins to turn opaque and firms up around the edges), add brown sugar and brown butter to eggs. Switch to the paddle attachment or grab your spatula and mix to combine. Add dry ingredients on low speed until just combined. Add chocolate and again stir gingerly until dough comes together.  Press into the bottom of the prepared pan.

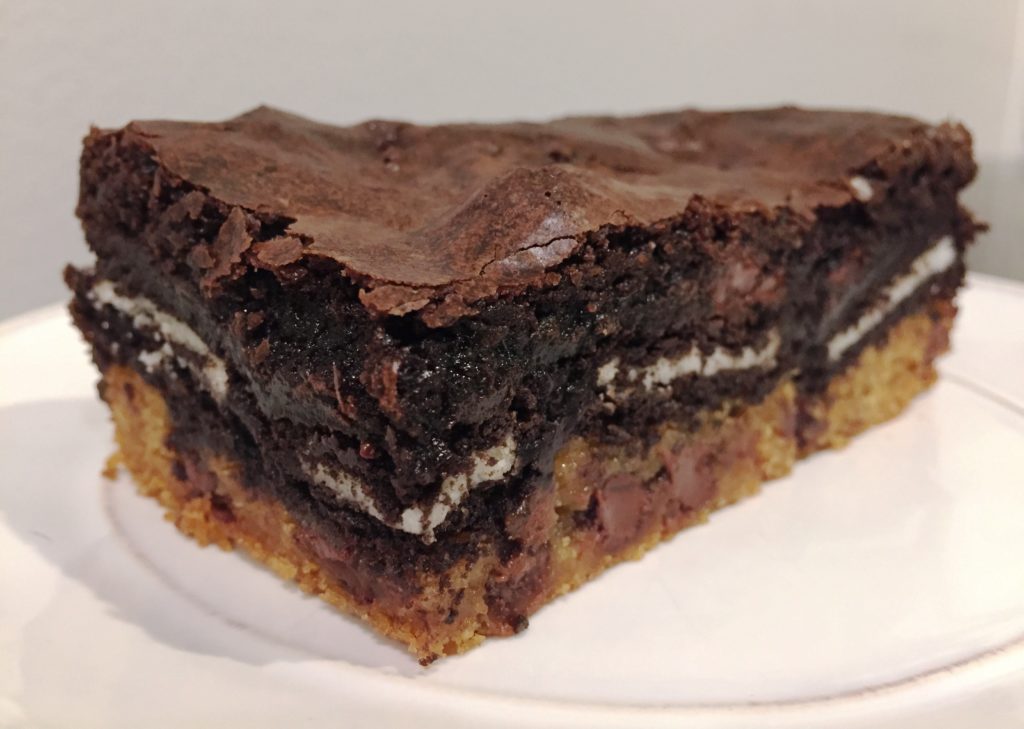
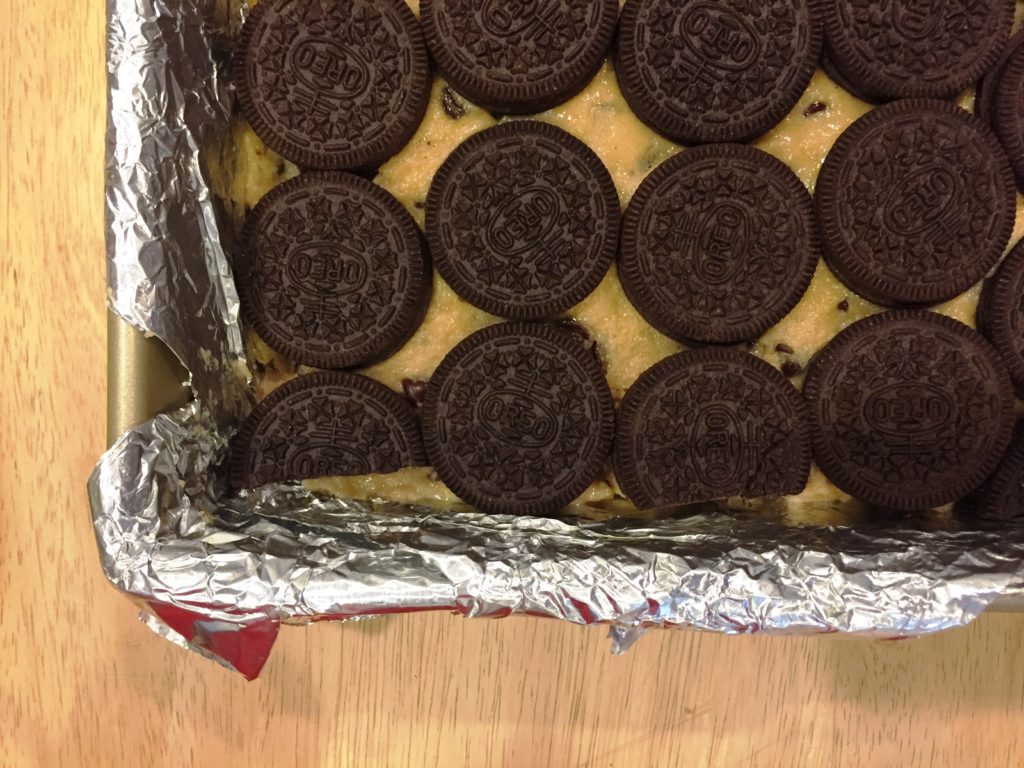
Line top of cookie dough with Oreos. No need to overlap, but you’ll notice from the pic that I cut some to make sure every bite had Oreos in it. That;s dedication, friend. Or obsession… whatever.

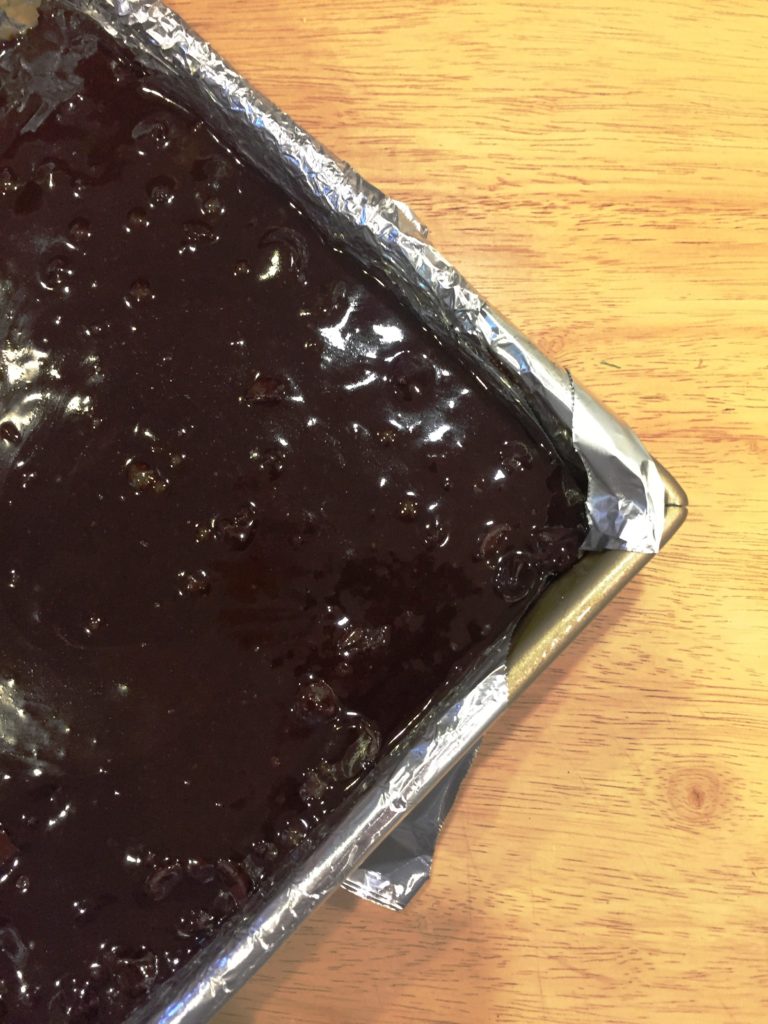
Next, prepare the brownies by whisking all the dry ingredients together. Add wet ingredients and chocolate chips, if using, and mix thoroughly. Pour over the Oreos and spread out if necessary.

Bake for about 30-35 minutes. Insert a toothpick into the center to ensure they are done. If not, return to oven for an additional five minutes and test again. If the knife comes out clean, removed from oven and allow to cool for at least 2 hours before serving. Enjoy!

Save

Tagged with: , , , , , , , , , , , , , ,
Posted in Dear Diary

I Can’t Believe It’s Not [Flavored] Butter

You say flavored, I say compound. To-may-to, to-mah-to. Po-tay-to, Po-tah-to.

Do yourself a favor: Don’t call this one off.

There’s something completely magical about flavored butter that can elevate a dish in a subtle but magnificent way. Take a hot-out-of-the-oven dinner roll. So delicious! Now add honey butter. Grill the best steak money can buy. Add garlic butter. Top your fluffy Sunday morning pancakes with cinnamon-maple butter.

<Writer sighs hungrily.>

It perfects perfection.

So now that you know how to make your own butter after reading last week’s post, why on earth would you stop there?

The answer is you don’t. And the best part about it? With all the amazing flavor combinations, it’s really just another excuse to play with your food. But don’t be daunted if you are not the creative type. There’s just as many articles out there with all kinds of suggestions across the sweet and savory spectrum.

Try She Knows, for example. I’m dying to try the Citrus Tarragon butter on a light, flaky fish en papillote. I’m completely obsessed with Food52, who has a feature on spring compound butter flavors that inspired my recipe below. And I dare you to try not to fall too deeply into the Pinterest hole. Plus, you’ve got The Pioneer Woman, who starts off strong with a Smoked Paprika & Rosemary Butter to saute shrimp in, but also offers tips on swapping butter for flavored coconut oil for the dairy adverse and lactose-intolerant.

In fact, like the coconut oil tip, you can learn a lot and pick up great techniques from reviewing different blogs or recipes. Take Alton Brown’s recipe for herb compound butter on the Food Network‘s website suggests flavoring oil and then adding it to the butter. One of my favorite bloggers, Katie from Wellness Mama, suggests olive oil, too — but for a different reason. She says it makes the butter more spreadable.

It is creative. There are endless flavor combinations. You can have it for breakfast. Or lunch. Or dinner. It can make the dish (I refer you back to my aforementioned steak comment above), or quite literally BE the dish (think al dente pasta, naked save for an intensely flavored compound.) Plus, it makes a great gift for any occasion. Which is super easy to make. Did I mention it makes your food delicious?

Really…

What are you waiting for?

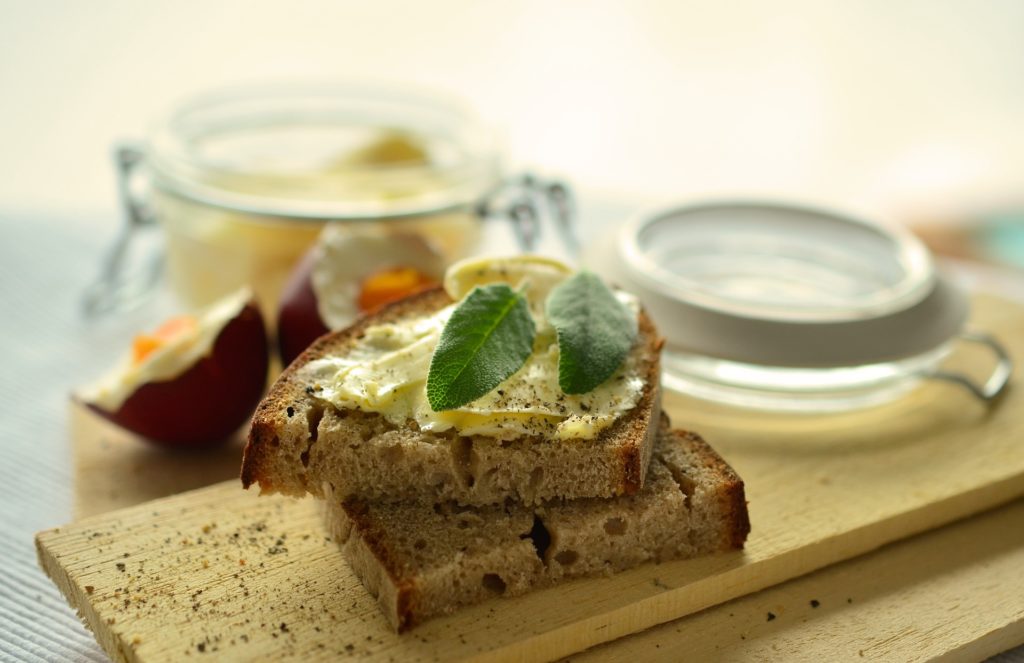
Fresh Sage & Garlic Butter

This is great with chicken or vegetable dishes, or for pasta with a little Parmesan cheese. Or try cooking eggs with it for breakfast. I kept it super simple here so you could swap in your own herbs, or try adding lemon zest and a little juice in place of the other liquid ingredients in the recipe. Have fun experimenting!
1 pound unsalted butter (homemade is always preferred, but not necessary if you are in a jam)
2 tablespoons heavy cream or light olive oil
2 tablespoons fresh sage, finely chopped
2-4 cloves garlic, finely minced
1 pinch sea salt

Allow butter to come to room temperature.

Place butter in a food processor or the bowl of your stand mixer using the spatula attachment and whip until fluffy, about five to seven minutes. Add the oil or cream, whipping a few minutes more. If using a food processor, transfer to a bowl, or remove the bowl from the mixer.

Scrape the garlic clove against your cutting board to release oils and form a paste. Use more or less depending on your preference (we love garlic!) Add that along with the sage to the bowl and fold in gently with a spatula.

Spoon gently onto parchment paper and roll into a log using the edge of your cutting board or a baking sheet until tight.

Chill for two hours prior to serving.

Save

Save

Tagged with: , , , , , , , , , , ,
Posted in Dear Diary
photo credit to Aaron Otis Photography 2014


July
Watermelon is the perfect summer food. It hydrates, it cools, it's sweet and juicy. We have some great ideas for your table, including a salad, ceviche cups, popsicles and cocktails. Get ready to beat the heat with us!