Is Butter Back? Was It Ever Gone?

Did you hear? Butter is the new health craze. Butter is back, baby. Fats and oils are no longer at the tippy top of the food pyramid. Throw away that tub of gross imitation butter. Bring on the real stuff.

This is great news for me: I reserve a whole separate food group just for butter. Whether it’s peanut butter, almond butter or real actual no kidding fatty dairy butter … I love it all. And I just found out that coffee and chocolate butters exist out in the world. The future is today my fellow eaters.

But let’s forget about the future of butter for now and focus on the basics. I decided to try my hand at making my own. It sounded pretty daunting and tiring. All I knew of butter making are the antique butter churns (or check out this modern hipster version). The upside to this method would be some really buff arms. Get ready for the next fitness craze …

Or not. With modern tools in our kitchens this is not going to happen, because it turns out making your own is extremely easy. I found several methods to make it using everything from a simple mason jar to a blender. After reading through several articles and blogs, I decided to use my food processor. Not only is it the fastest, but it’s a good excuse to use it. The poor guy sits all the way up high in my cabinet where even my 6′ 2″ tall husband can’t reach it. I like to throw it some love every now and then.
The hardest and most import step may be finding a good quality cream to start with. Most grocery stores sell an organic heavy cream. But if you’re looking for no hormones, no antibiotics, grass-fed or raw you may have to dig a bit deeper. You can, of course, use any heavy cream to make butter. But you’ll get a better taste from grass-fed or raw milk. If you have a local dairy or a farmer’s market with a dairy seller, chances are you’ll get a great tasting, sweeter, richer cream. The taste of grass-fed milk even changes with the season since the cows eat more hay in winter and, as spring approaches, the greens they eat alter their milk’s chemistry. It makes sense and is one of those facts that makes my nerdy food side really geek out.

If you can go the raw route, which is harder for some due to state level regulations on selling unpasteurized milk, you’ll get something really special. Living in Virginia I can only get raw milk if I own the cow. Ain’t no way, no how is my little townhouse community going to let that happen (along with city ordinances, my tiny backyard, the HOA, etc), so farmers have devised a clever way to get around the law: cow shares. You can buy into a portion of a cow, which entitles you to a share of the raw milk they produce. The cool thing about raw milk is the cream that settles at the top. Normally you would shake your milk to mix that in before pouring. When making butter, this is the cream you skim off to start with.

OK, so we’ve established the ingredients (make that ingredient) is really simple. So what’s the process?

Whether or not you are using a food processor, the steps are pretty much the same, it just may take longer with other methods. First, you want to start with room temperature heavy cream. Take it out of the fridge and let it warm up a bit, for about an hour. This will help the fluffy curds form better and faster.
When ready, pour the cream into the food processor making sure not to overfill. I used two pints, or 1 quart, of heavy cream. Attach the lid firmly and let ‘er rip. It only takes about 5 minutes or less to change it into butter.

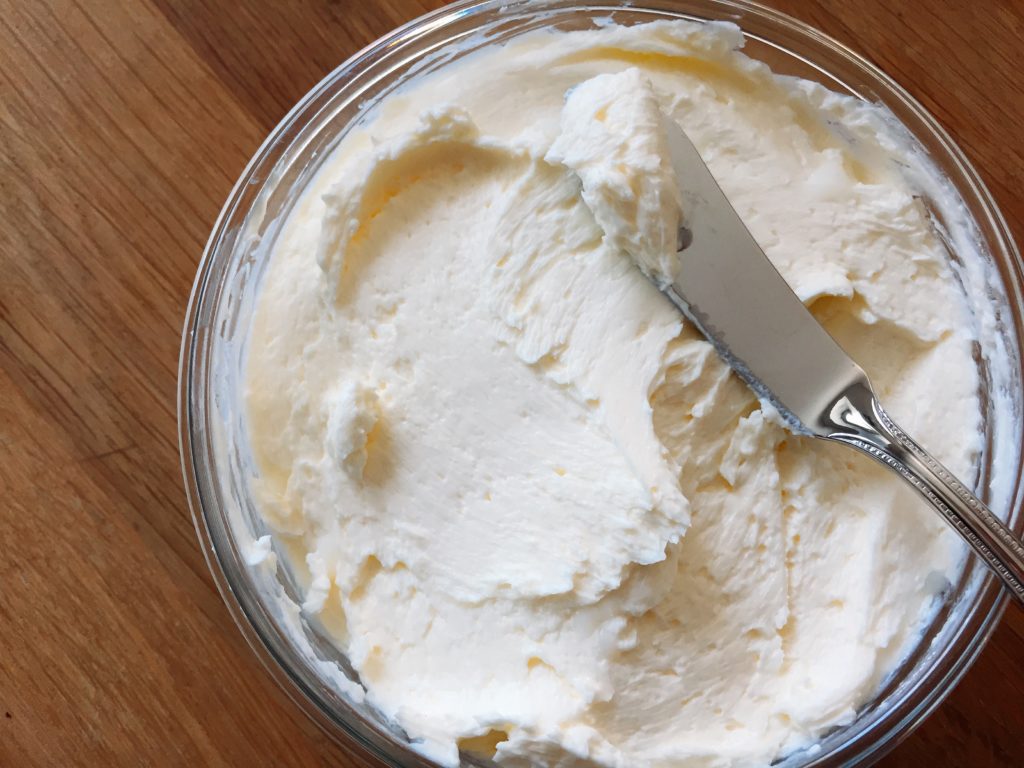
As the processor runs and agitates the cream, you will notice some changes. It will slowly thicken up, essentially turning into whipped cream. As it continues to process, it will break and milk solids which look like fluffy, pail yellow clouds will begin to emerge in the liquid.

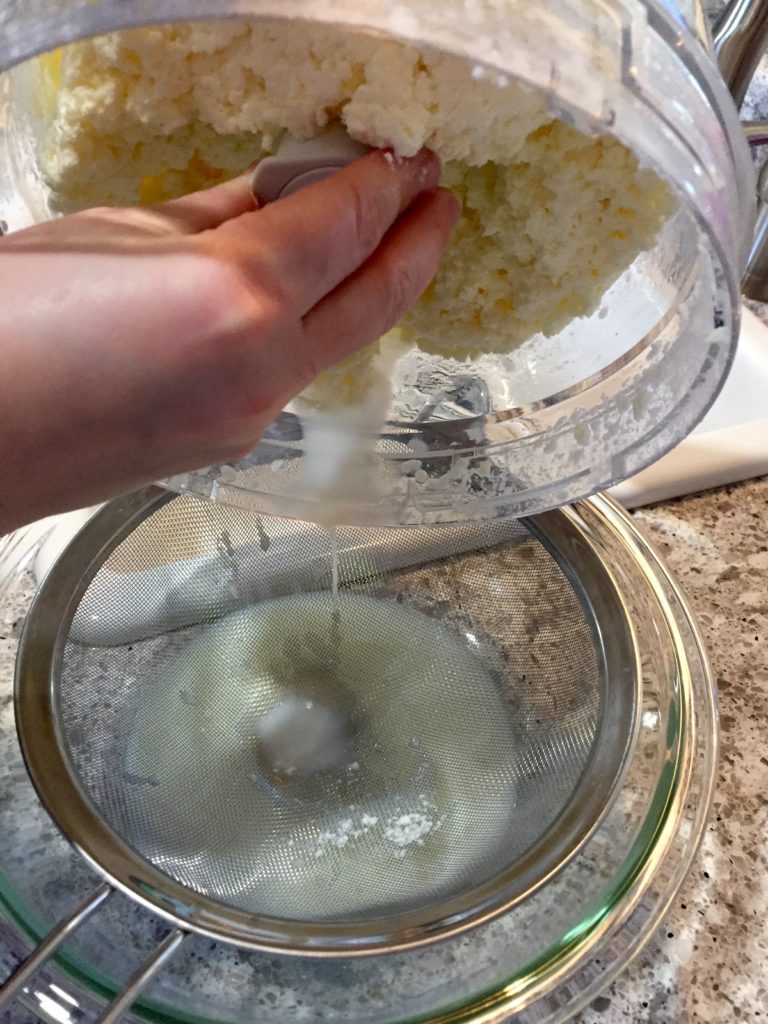
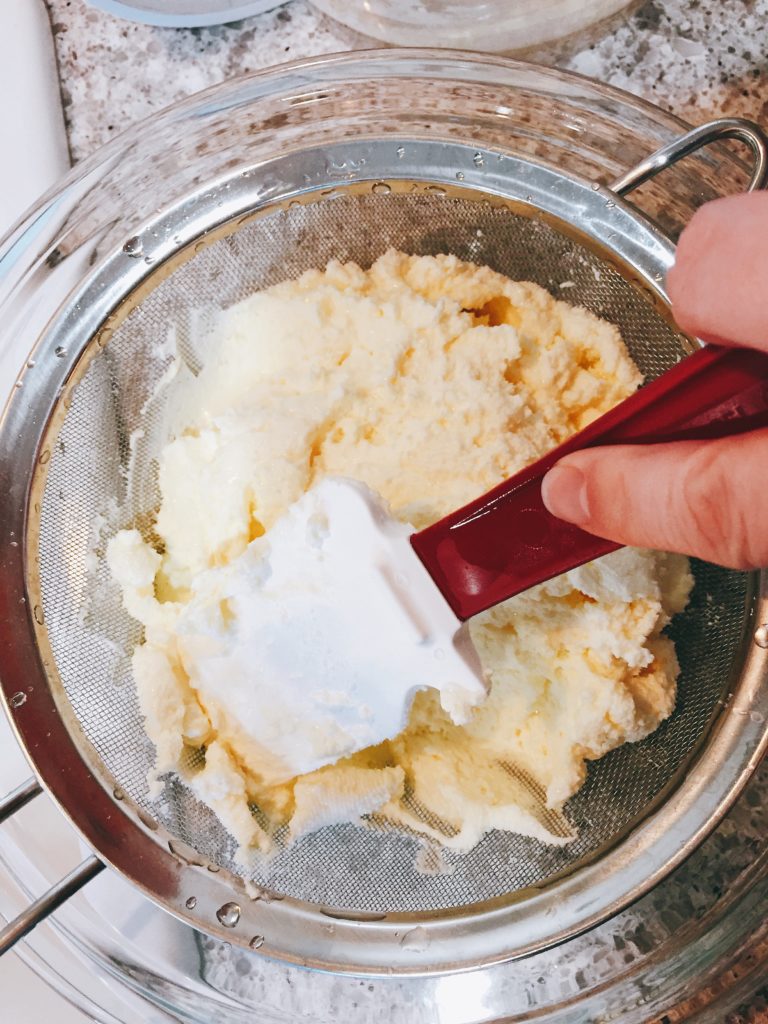
Put a fine mesh sieve over a bowl and pour the contents of the processor over it. The liquid left after the milk breaks is buttermilk. Save this off for other uses! The butter is what stays in the sieve.

The step I was most confused about was the “washing” stage. Why on earth do I have to rinse my butter, I thought. Well, you don’t have to, but if you want it to last a little longer it’s suggested that you either soak it in a little water or run the butter right under a sink. This was relatively easy and painless, I just didn’t understand why.

After rinsing, using either your hands, spoon or spatula, kneed or squeeze the butter to remove any excess liquid left behind. This part can take a little time. You want to make sure you get most of what you can out. Setting it in a sieve to drain works too.

Congratulations eater! You just made butter! At this point you can salt it if you’d like and place into a container of your choice. Later this month we talk about what you can do with this butter – besides the obvious bread, baking, potatoes – like making seasoned compound butter for cooking or browning it for a sauce.

Tagged with: , , , , , , ,
Posted in Dear Diary

NOT “Buffalo” Wings

I don’t mind hot and spicy. Actually find that appealing in a girl. And chicken wings.

                                                                                                                                   – Julie James

When it comes to chicken wings, you would assume that your average guy from Upstate New York would be a Buffalo-style purist. After all, it’s not just an appetizer to us… it’s a part of our history.
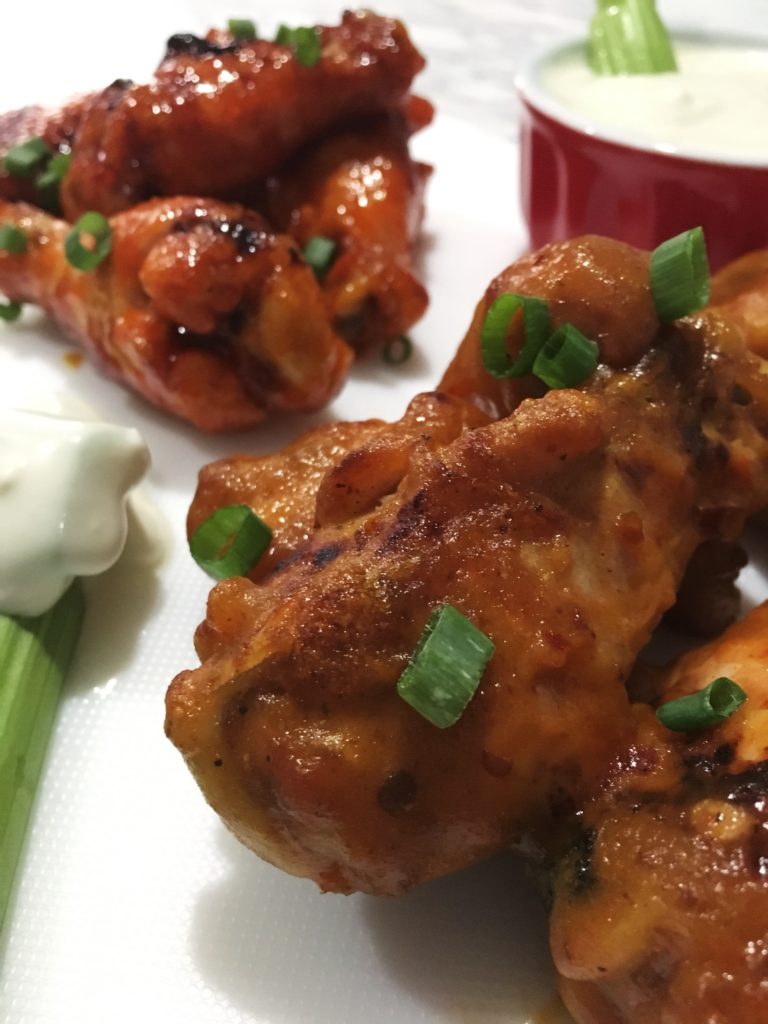
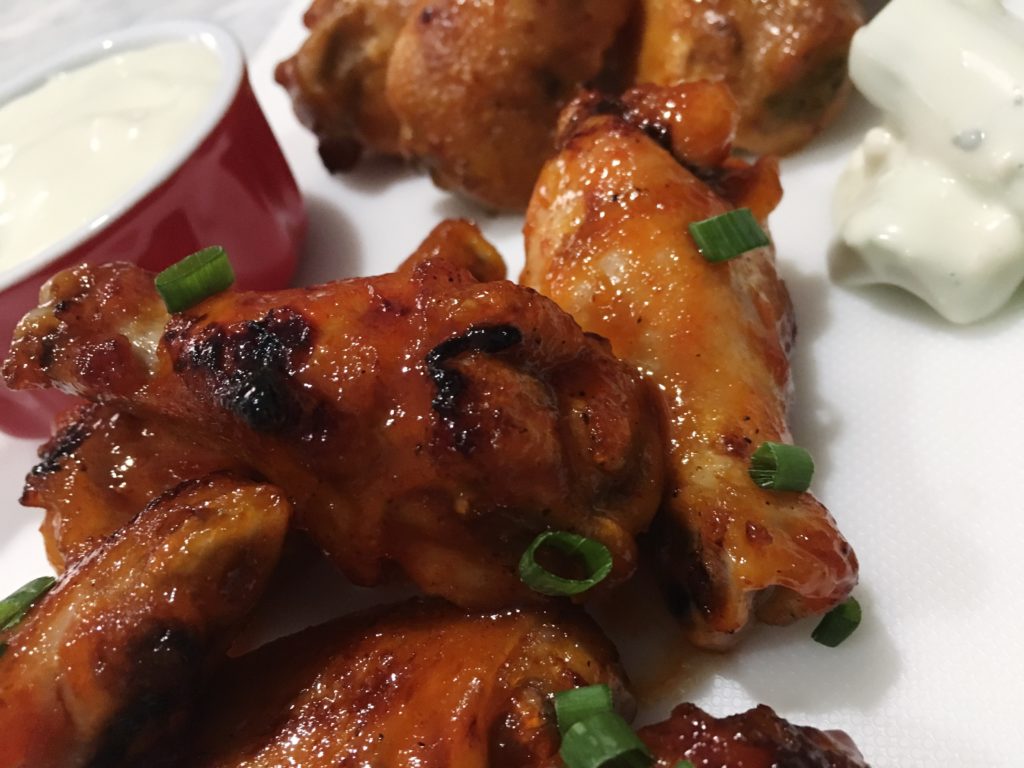
Some people debate the true origin of  the Buffalo wing, but the majority of “experts” agree it was created by Teressa Bellissimo, owner of the Anchor Bar, in 1964. Legend has it that her son arrived at the Buffalo bar late in the evening with hungry college friends. The day’s cooking already completed, Teressa needed to create a quick, satisfying snack with what she had available. She went back to the kitchen to survey what food scraps remained, and dreamt up the idea of deep-frying leftover chicken pieces (wings, which were typically thrown away or reserved for stock), and tossing them in a cayenne hot sauce.

The rest is history.

And while it is important history to us Upstate New Yorkers, I have to admit that I prefer wings with a sweeter sauce. Sacrilege, I know! My west coast born wife even reminds me often how wrong that is.

Not to mention, though I greatly enjoy wings, making them at home without a deep fryer is a challenge. It’s tough to get that crispiness you expect. And let’s be honest: nobody wants a soggy wing. Nobody.  No crunch? Don’t bother.

If you can’t deep-fry them, a second great wing-cooking method can be found at Dinosaur Barbecue, another Upstate New York staple. Smoked, sauced and finished on the grill. Seriously. If you’ve never been to Dinosaur, it’s worth the short drive to Baltimore’s Inner Harbor where the chain recently expanded. Their Chipotle Garlic wings, charred to perfection over an open flame, might just be the best I’ve ever had. (I can almost feel the Buffalo-style purists ripping their hair out.) You can thank me later. Alas, smoking meat at home is even less accessible than deep-frying. So what’s a chef to do?

When prepared correctly, oven-made wings can indeed be good. It’s possible to get them crispy, and you don’t even need to use any flours or baking powders, which can sometimes alter the taste. Let me share a few tips:

  1. Pat your wings dry. Very dry. Even let them air dry a bit. Dehydrating them a bit will aid in crispiness.
  2. Lightly coat your wings in oil and season them. (Whatever spices you like, but I prefer salt, pepper, garlic powder and paprika.) There’s no reason not to season from the on-set.
  3. Cook on a rack. Get your wings up off the pan and out of the juice!
  4. Finish under the broiler. It’s an underutilized oven tool, and I’ve found it’s the best way to get that crunch on the skin without overcooking the meat.

You can be as creative as you want with a wing sauce. If you’re happy with Buffalo, I’d highly recommend checking out DC’s own 8 Myles Pineapple Buffalo Sauce. My wife and I ran into Myles at the Brookland Farmers Market last summer, and we absolutely loved his sauce. It’s a great balance of sweet and heat. I myself am a fan of Asian flavors, and I happen to love the Sriracha Honey-Lime wings from Stoney’s on P St. across from Whole Foods. ($15 for 20 wings during happy hour!)

In addition to trying to recreate the Sriracha honey-lime wings, I wanted to put an Asian twist on some hot honey mustard wings. I took inspiration from a recipe I found at All Recipes.com, substituting rice wine vinegar for the apple cider vinegar it called for. Also, instead of hot pepper sauce, I used Huy Fong chili garlic sauce which you can find in the Asian section of your local grocery store. It’s the same company that makes the well-known Sriracha bottled with the green cap. Both the Sriracha and chili garlic sauce are quite hot on their own, but the honey in both recipes tames them down.

If you’re looking for an alternative to Buffalo style wings, give these easy mixtures a try. (Just don’t tell my New York friends that I told you to!)

Anti-“Buffalo” Wings Two Ways

Chicken (prepared the same for both sauces)
1 bag of frozen chicken wings, thawed
olive oil, enough to coat the wings lightly
1 teaspoon salt
1 teaspoon pepper
1 teaspoon garlic powder
1 teaspoon paprika

Sriracha Honey Lime Sauce
1/3 cup Sriracha
1/3 cup Honey
2 tablespoons coconut aminos (or Soy Sauce)
2 tablespoons rice wine vinegar
1 lime, juiced

Hot Honey Mustard Sauce
2 tablespoons Dijon mustard
2 tablespoons prepared yellow mustard
2 tablespoons honey
1 tablespoon rice wine vinegar
2 tablespoons chili garlic sauce

chopped green onion for garnish
celery
thick blue cheese dressing

Instructions

Preheat the oven to 400.

Prep the wings by draining the juice and patting them dry. Once dry, toss them in a bowl with enough olive oil for a light coating and liberally season them with salt, pepper, garlic powder and paprika.

Cover a baking pan with aluminum foil for easy clean up, then place a baking rack on the pan. Put the wings on the rack leaving enough space around each wing for the air to circulate.

Bake for 25 minutes. Flip the wings, and bake for another 25 minutes.

While the wings are baking, make your sauces.

For the hot honey mustard sauce, add all ingredients to a bowl and combine well. That’s it. Boom. Done.

For the sriracha honey lime sauce, mix all ingredients together well. Add to a small sauce pot and bring it to a light boil. Reduce to simmer and let is cook for just a few minutes to thicken slightly.

When the wings are done, remove them from the oven and switch to it to broil mode.

Dip the wings in your sauce of choice to coat, and place them back on the rack. Broil the wings for 4 minutes on one side, or until the skin is nice and bubbly and browning well.

Coat the wings in the sauce a second time, and then return them to the oven with the un-broiled side up, and cook for another 4 minutes.

(It’s kind of like watching garlic bread. You need to babysit it so that you don’t get side tracked and smell something burning 15 minutes later.)

And if there’s one thing I can agree on with my fellow New Yorkers, it’s very important to serve your wings with celery (carrots if you like them as well) and a good blue cheese.

Enjoy!

Tagged with: , , , , , , , , , , , , ,
Posted in Dear Diary

If I Had Wings, I Could Fly

If I Had Wings, I Could Fly.

Okay, not really. We are talking chicken wings here. And this week, not so much wings. But the sauce I put on these guys? It will have your mouth soaring at the very least.

First things first: I have a long-standing aversion to chicken, and particularly chicken wings.

This has nothing to do with taste. Though I may consider myself much more of a steak girl, chicken has many merits. It is a far better partner with sauce of nearly any kind than beef, thus more versatile. It is more economically priced. And it is—gasp!—better for you, health-wise.

Sadly, there’s just  something about the unknown weird bits that are a total turn off for me. Veins and bones and other stringy things that just don’t have the same effect when I am eating a steak. Or pork. Or fish. Maybe shrimp, but the list isn’t long.

The tragic things is, despite their blech factor, I adore chicken wings. That mostly as an instrument of delicious sauce delivery. Much like cake, which, in my humble but 100 percent accurate opinion, is solely a delivery mechanism for frosting. Cake is to frosting as wings are to sauce. And this sauce doesn’t disappoint.

Plus, I overcome my aversion here by scrapping the wings all together and opting for a less offensive breast. So there’s that. And deep frying it doesn’t hurt, right?

Perhaps I should have titled the post, “If I Had Wings, I Could Fry.”


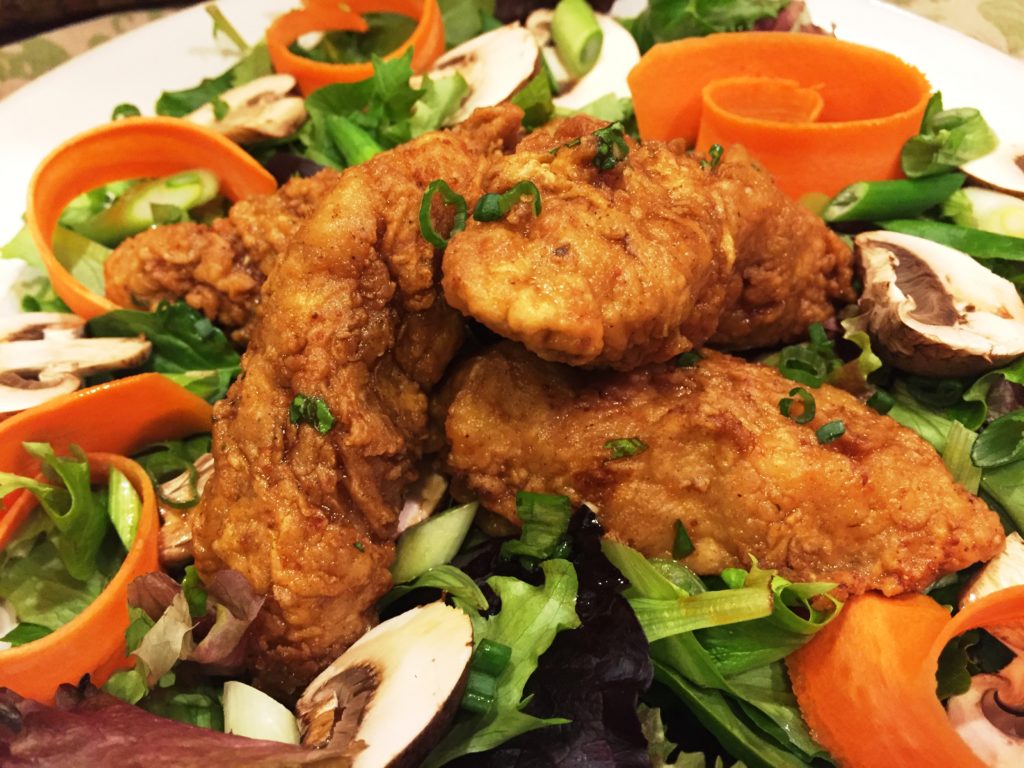
Amy’s Asian Boneless Wings

Inspiration for this recipe was found in two places. Allrecipes.com had some great ideas on making boneless chicken wings. One of my favorite food blogs, Budget Bytes, had a recipe for Asian Sticky Wings that I adapted here to make a version that could double as salad dressing. 

“Wings”

Oil for frying (I used peanut oil)
2 boneless, skinless chicken breasts—cut into strips
1 cup flour
1 teaspoon salt
1 teaspoon Chinese Five Spice (you can omit this, if you choose, but it adds a nice depth of flavor)
1/2 teaspoon garlic powder
1 egg
1/2 cup buttermilk (or regular milk)

Sauce

1/4 cup honey
2 tablespoons soy sauce or tamari
1 tablespoon sesame oil
1/2 teaspoon rice wine vinegar
2 cloves garlic, smashed and finely minced
1 teaspoon grated fresh ginger (you can also mince, but I use a microplane)
1 dash liquid smoke
1 tablespoon fresh cilantro, miced
1-2 tablespoons green onion, chopped

Optional, for serving as a salad: mixed salad greens, carrot, mushroom and more green onions

Method

The great part of being a personal chef is all the gadgets I have in my kitchen, including a mini fryer. If you have one, too, heat your chosen oil to 375 degrees F (190 degrees C). You can do the same in a large saucepan

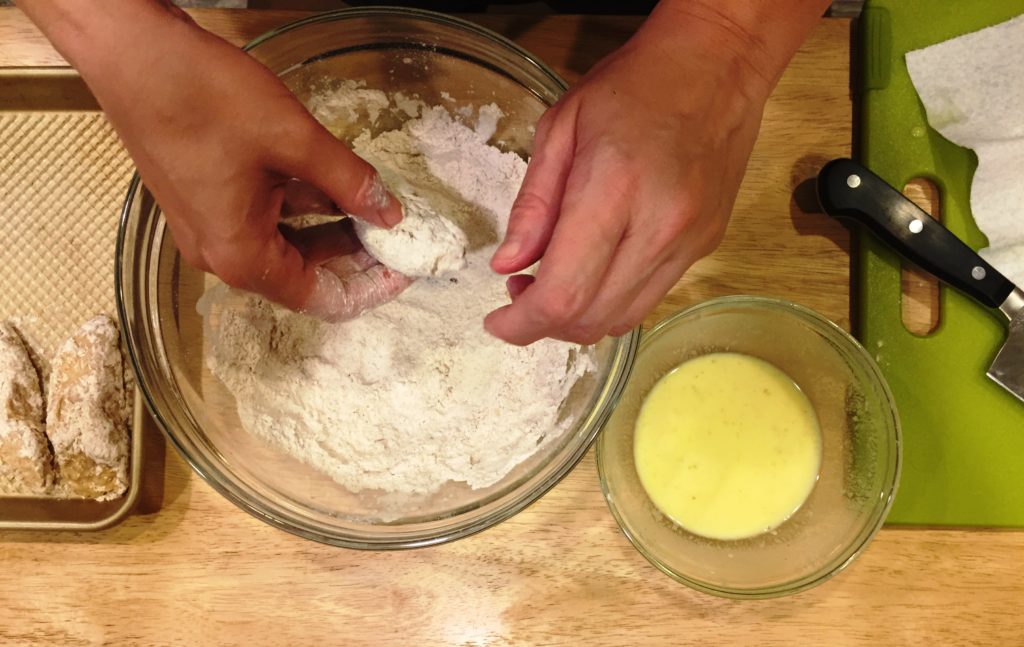
In a large bowl, combine the dry ingredients. Whisk egg and milk in a smaller bowl. Cut chicken into strips, dry thoroughly, and dip each into the egg mixture, then toss to coat in the flour mixture. If you want a thicker batter, repeat the process. Place on a plate or tray and chill for about 20 minutes in the refrigerator.

While chicken chills, make sauce by combining all ingredients. If you plan to serve as a salad, you can also assemble those at this time. I planned for one chicken breast per person, or about 4-5 “wings.”  We lightly dressed our salads with the sauce that was left after tossing the wings. You can adjust accordingly.

Working in batches, fr the chicken strips until the exterior is browned evenly, about 6 minutes depending on thickness (I added thinner pieces about a minute in and put really fat pieces in for about seven minutes).

Transfer from oil to a paper towel-lined plate. Once cooled slightly, toss in sauce and serve alone or as a salad.

Tagged with: , , , , , , , , , , , , , , , ,
Posted in Dear Diary
photo credit to Aaron Otis Photography 2014


July
Watermelon is the perfect summer food. It hydrates, it cools, it's sweet and juicy. We have some great ideas for your table, including a salad, ceviche cups, popsicles and cocktails. Get ready to beat the heat with us!