When I was a kid, my family didn’t eat very adventurously. Think chicken and dumplings, a bland meal I still have trouble stomaching. Chinese or Mexican were as ethnic as it got (though I credit one of my favorite restaurants on the planet, El Azteco, with my love of all things spicy!). My inner foodie longed for bigger flavors.
I started experimenting as soon as I left for college. I consider two dishes as gateway drugs along my palate-altering path: saag paneer and California rolls. It was during my pursuit of the latter, and other types of sushi, that banchan and I were introduced.
Banchan is a collection of side dishes, often served with rice, presented before a meal in a Korean restaurant. It just so happens that my favorite sushi place — and one of the few in Lansing, Mich., at the time — was a Korean sushi place.
I fell in love with these traditional sides, and the opportunity they provided to try a whole new world of flavors without the worry of ordering something questionable. They just showed up at the table: Little dishes of the weirdest, and most awesome, flavors I’d encountered in those early years of my blossoming taste buds’ great romance.
What stood out among the Banchan … 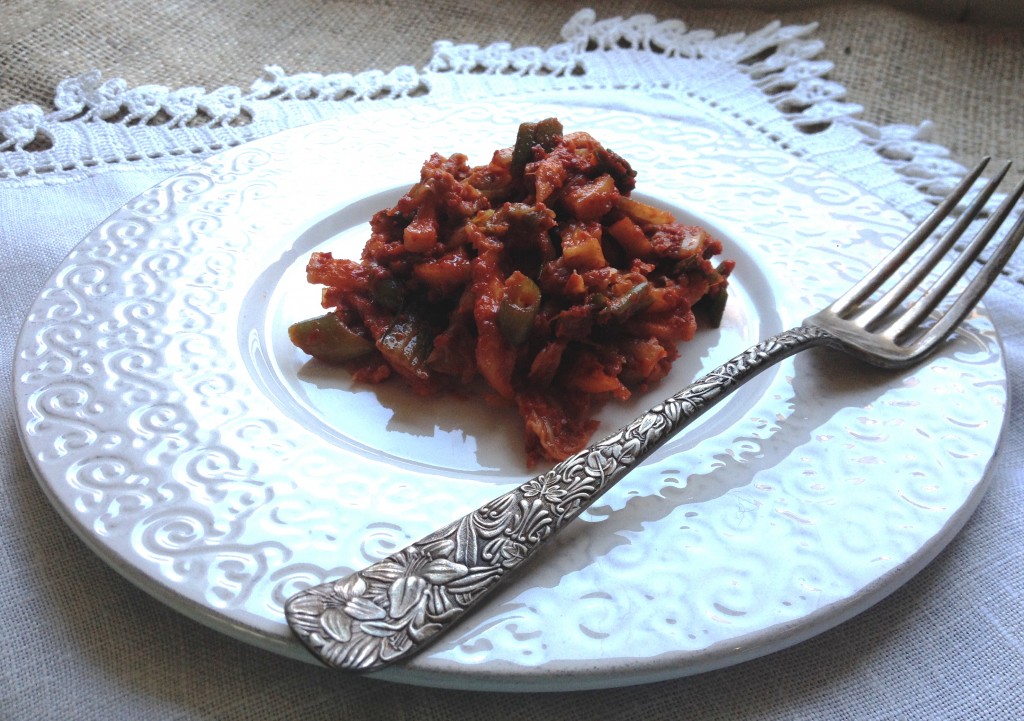 was Kimchi.
This fermented food dish dates back to the 7th century. Agrarian societies relied on pickling to preserve vegetables for use during cold weather months. That said, the Koreans’ talent in making different kinds of fermented foods is mentioned as early as the 3rd century in the Chinese history book, Sanguozhi. The point is: Kimchi has a long and storied history.
Originally merely a salted vegetable, and likely made with radish before cabbage, it was intended to aid in the digestion of grain. It wasn’t until the 1100s that red pepper was introduced to the recipe — which, by the 18th century, was considered an essential ingredient. Today, it is Korea’s national dish, a staple of their cuisine, and as such, part of every meal.
Which is a really good thing, because kimchi has a ton of health benefits. How it is prepared does give it a high sodium content, but this low-calorie, high-fiber probiotic revs up metabolism, aids in digestion and reduces cholesterol, and also suppresses the growth of cancer cells. It’s packed with vitamins A and C, some B vitamins, and minerals like calcium, iron and selenium. I could go on. And on.
Though there are nearly 200 different kinds of kimchi, a few of the standard ingredients — dried shrimp and fish sauce — make this nutrient-dense super food inaccessible to vegetarians and vegans. Yes, while it may masquerade as veggie, flaunting its daikon radish legs under a frilly Napa cabbage skirt for all to see, it’s not so. But herbivores unite: After a bit of research, and some trial-and-error, the recipe below skips those ingredients so ALL of us can enjoy the benefits of this tasty dish.
Kimchi
This is a We The Eaters original recipe.
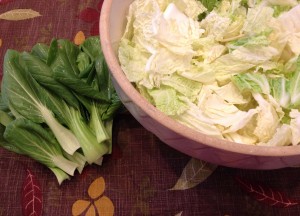
½ head Napa cabbage (found in Korean grocery stores … leaves should be bright green toward top and have frilly edges, not smooth like traditional cabbage)
1/2 cup kosher salt
3 cups baby bok choi (about three good size “clusters”), cut across the leaf in one-inch strips
3 cups daikon, cut into matchsticks
15 cloves garlic, microplaned or minced fine (yields about 1/4 cup)
1 tablespoon ginger, microplaned or minced fine
1 tablespoon red curry paste (found in asian section of most grocery stores)
2 tablespoons either fresh lemon juice or rice vinegar (lemon imparts brightness, rice vinegar is milder)
1/4 to 1/2 cup organic tamari (gluten-free soy sauce)
1 cup Korean coarse ground red pepper powder (found in Korean grocery stores, bright red, mild or spicy)
5 green onions, root removed and tops trimmed, cut on the half-inch at a diagonal
Disposable rubber glovesRinse and dry cabbage, peeling away dead or damaged leaves. If you purchased a full head of cabbage, divide lengthwise into two parts. Should be roughly a pound. Chop end off until core is fully removed and pieces separate when cut. Reserve all parts to boil for stock, or you can compost or discard.
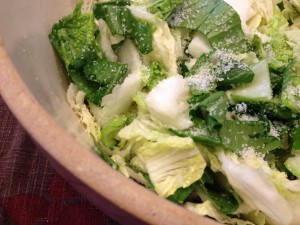
Slice crosswise across the head in 1-inch thick slices. Pieces should be about two inches long or less. Place in large bowl and add 1/2 cup kosher salt and massage until cabbage begins to glisten as water is extracted. Pieces will rip apart as you massage. Sprinkle top with salt, cover and set aside to wilt for 2 hours.
When you uncover your salted veggies, you’ll find the salt has extracted quite a bit of water. Now you’ll do something that seems counterintuitive: Add cold water to bowl to completely cover cabbage.
Cut ends off bok choi, rinse and dry each leaf. Cut in 1-inch strips, width-wise, and add to the bowl (*NOTE*: As you’ll see from the pics, I massaged the bok choi along with the cabbage — but it’s too delicate for that. Adding it to the salted water instead will remedy this error.) Add daikon matchsticks and stir gently to incorporate. Cover and let sit again for 1 hour while you
prepare the remaining ingredients. (Next time I make this, I might reduce daikon a bit and add carrots. The great thing with Kimchi is that you can always experiment!)
Combine garlic, ginger, red curry paste, Korean red pepper powder, tamari and lemon juice or rice vinegar. You’ll want the mix to be a little wet-looking, so add a bit more tamari, lemon juice or rice vinegar as needed. The bok choi, ginger and red curry paste add the pungent, fullness of flavor typically imparted by the non-vegan ingredients. Some recipes call for a teaspoon or more of sugar, which you can add to balance the sharp, pungent spiciness of this recipe. I’m trying to cut sugar, so I didn’t. Another option would be honey,
or coconut nectar if you are vegan. Look at other recipes for guidance on amount.
Drain water from vegetables and rinse thoroughly in cold water. Allow to drain and gently squeeze remaining water out with paper towels. Move to large bowl.
Put on rubber gloves (I always keep some of these in my kitchen — they’re great for protecting your hands from capsaisin, the compound in chili peppers that can leave your hands stinging for hours.) Add the spice mixture incrementally to the vegetables and
massage through to coat thoroughly. You may not need it all, and leftovers can be used to flavor other dishes, including soup, or you can freeze it to use with your next batch of kimchi.
You can eat the kimchi now, but fermenting yields the most health benefits. To take it to the next level, pack kimchi into clean glass jars (I use mason jars and sterilize them before using.) Leave about an inch of room at the top, just to the base of the threads for the lid. Close tightly and place in a dark place for 24 to 48 hours until it is fermented. You’ll know it is ready when you open and gas is released, and when you press down on the mixture and bubbles from below
come to the surface. It will both smell and taste sour.
Move to refrigerator, where it will keep for weeks — and some say longer. Refrigeration slows the fermentation process, but it does continue, so the mixture will become more sour over time. If you plan to let it ferment longer like this, make sure the vegetables are submerged just beneath a bit of liquid. Mine was on the dry side, so I added some rice vinegar and a little water.
Really sour kimchi is used to make Korean soups, like Kimchi Jjigae
(um, pork belly … yum!) In Korea, kimchi is fermented in a large earthenware pot called an onggi, which is buried in the ground. Just taste it every few days until you discover when it’s “done” for you. You really can’t go wrong … unless you see mold. That’s when I’d throw it away. But this shouldn’t happen if you have the liquid layer on top.
Enjoy your healthy probiotic treat, and remember to repurpose it in other recipes. Check out the list in this article from The Kitchn for ideas. Just trust me — your homemade version will be so much better than Trader Joe’s!

 If you have a