Salt-Crusted Fish
Tips before starting:
- Before acquiring the perfect fish, think about what sheet pan you have available. Your fish needs to fit on it. For bigger ones, I sometimes have to use a roasting pan. If your choices are limited, two smaller ones can cook nicely side by side on the same, smaller pan.
- If you experience a misunderstanding with your fish monger who inadvertently removed the head of the fish in a moment of inadequate fish terminology, fear not. You can cover the resulting skinless area with lemon slices and foil before you scoop over the crust to prevent the salt from seeping in.
- The rule of thumb for the salt mixture is a ratio of 2 egg whites per cup of salt. For each pound of fish, I recommend 2 cups of salt. My preference goes to preparing more than needed so I can generously cover the fish without worry. The mixture should have the consistency of wet sand. If you run out of egg whites and the mixture is still on the dry side, you can add water to reach the desired consistency.
The salt crust becomes surprisingly hard during the baking process. It becomes almost impossible to reach the fish with a thermometer if you are (like me) in need of a temperature reading before declaring victory. Try placing one or two whole peppercorns over the thickest part of the fish. To check if the temperature has reached 125-130 degrees, the peppercorns can be lifted with a fork or small knife to insert the probe. If the fish is not done, place the peppercorns back and you will maintain the integrity of the crust for an additional 5 min of baking.
Ingredients
1 ½ to 1 ¾ pounds fresh, whole fish with firm flesh, cleaned and scaled, fins removed
3 cups sea salt or Kosher salt
6 eggs, whites separated (WTE tip: don’t toss the yolks! Lemon curd, anyone?)
1 lemon, sliced (plus 1 for serving, optional)
3 fresh sprigs each thyme and either oregano or marjoram
Salt & pepper
1 or 2 whole peppercorns (optional)
Preheat to 450. To properly bake your fish in the salt crust, you need a hot oven.
Prepare your fish: rinse inside and out in cold, running water. Run your fingers on the outside to remove any leftover scales. Pat dry.
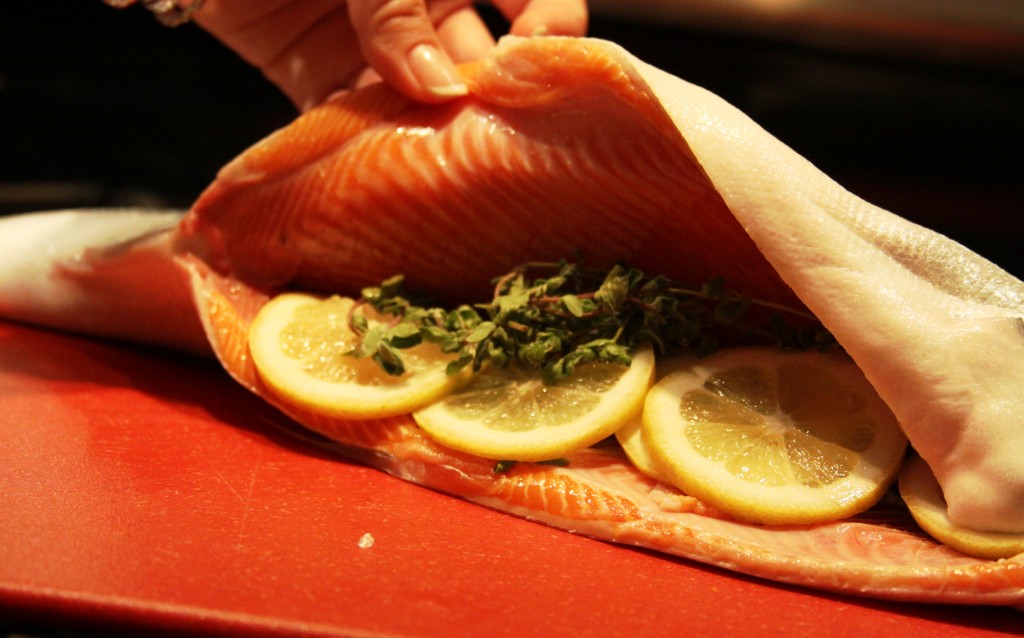
Stuff the fish cavity with lemon slices. Arrange the fresh herbs on top of lemon. If working with salmon, you can substitute dill for the thyme and add slices of fennel to the stuffing. Fold the fish back closed.
In a bowl, beat the egg whites into soft peaks. Fold the salt in. Alternatively, get deliciously dirty by simply mix the salt and the egg whites together with your hands.
Place a half-inch layer of the salt mixture onto the sheet pan. The layer should be a wee larger than the size of your fish. Lay the fish on top of the salt base. Scoop the remaining salt mixture over the entire fish, to form a half-inch crust over it. The tail can be left uncovered. If needed, delicately insert one or two peppercorns in the salt mixture over the thickest part of the fish. Place in the oven for 17 to 20 minutes.
Remove from oven and let rest 10 minutes. Unveil your masterpiece by cracking the crust with a wooden spoon or fork and gently removing the salt crust pieces from the fish. Brush off any excess salt before you skin and fillet the fish, starting by lifting the top fillet after separating it from the backbone with a gentle incision, then lifting the spine, discarding any remaining small bones and accessing the bottom fillet (WTE tip: Check out this video tutorial … at about 3:10, they show how to do this).
Serves two generously
Originally published in “Salt Crusted Fish: Overcoming A Fear Of Whole Fish”


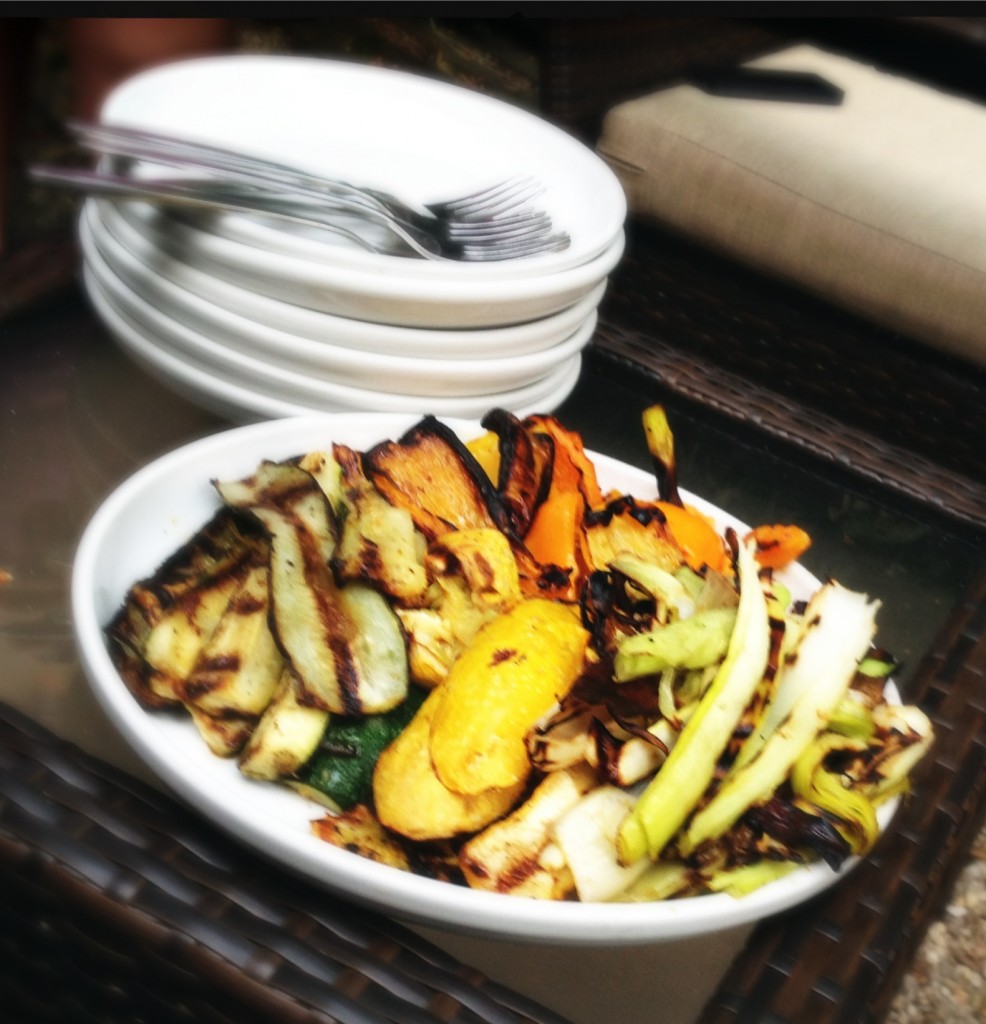
 2 red bell peppers, seeded and quartered


